Customise the look of Hubzilla
After creating a channel, its appearance is not particularly appealing.
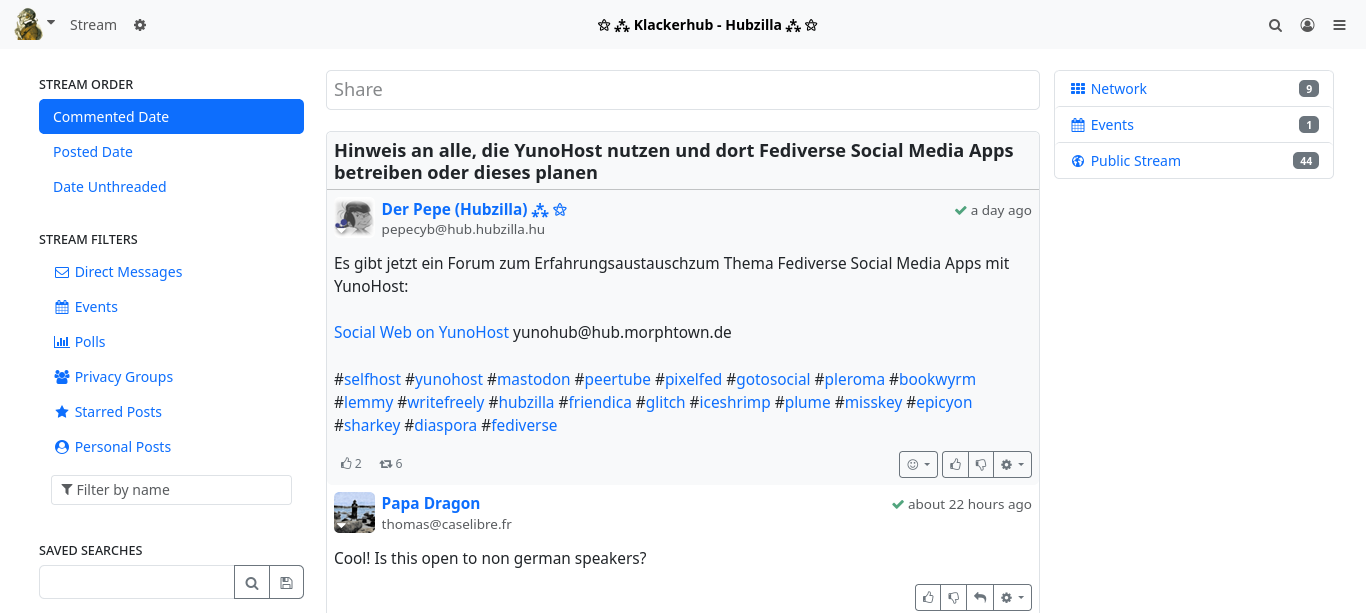
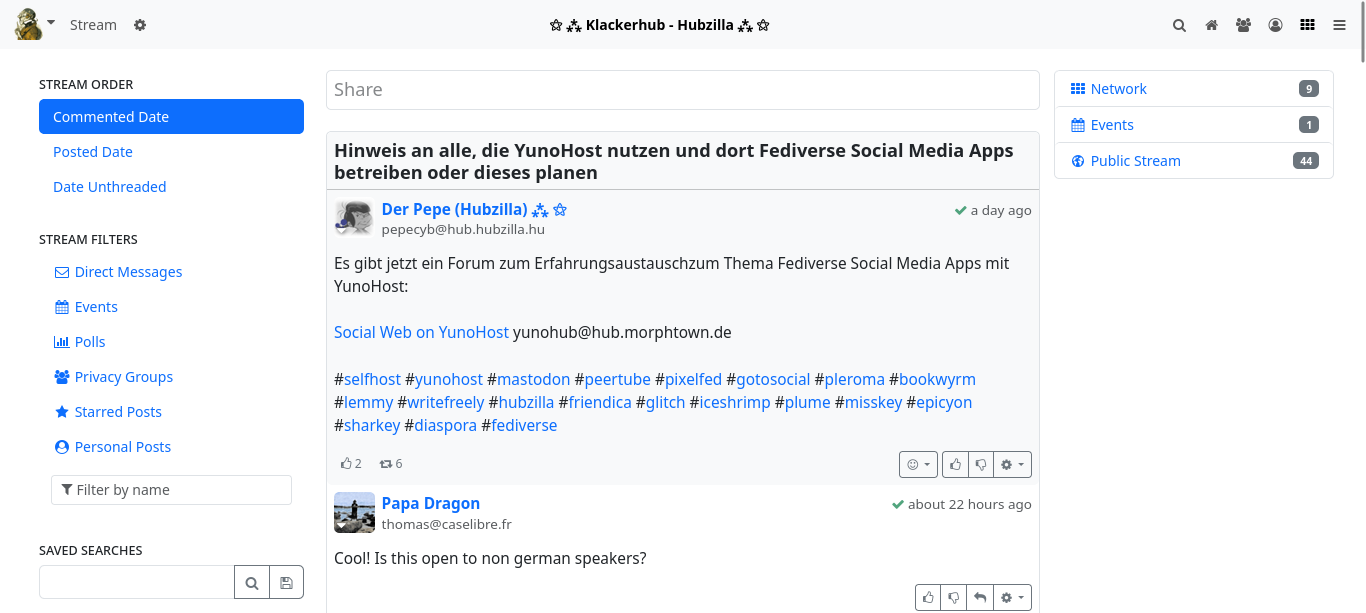
Pin apps
Firstly, pin the most important apps to the top navigation bar: ‘Write post’, ‘Channel’, ‘Stream’, ‘Connections’ and ‘Public post stream’. To do this, select the bottom menu item ‘+ Apps’ in the app menu (⋮ top right). This will take you to the app settings and immediately to the apps already installed. On this page, click on the small pin symbol for each desired app and you will immediately see the respective icon appear at the top of the navigation bar.
Display settings
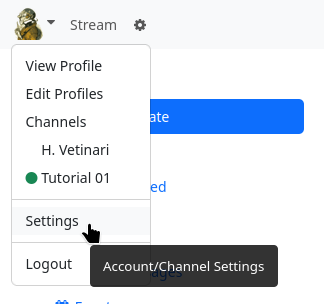
Now it's time for the display settings. To do this, click on ‘Settings’ in the main menu (top left, where you can see your avatar image). The various settings categories can now be seen in the left-hand sidebar. Select ‘Display settings’ here.
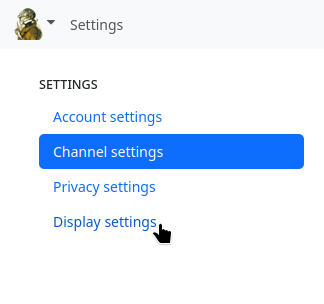
The page for the display settings is displayed. Since you want to customise the design, the ‘Custom theme settings’ tab is the right choice.
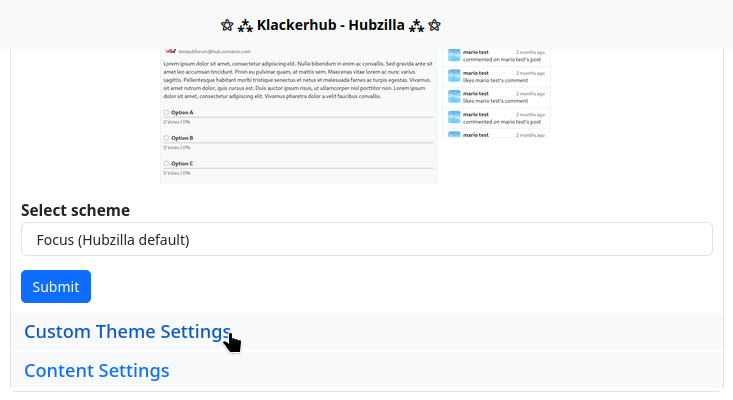
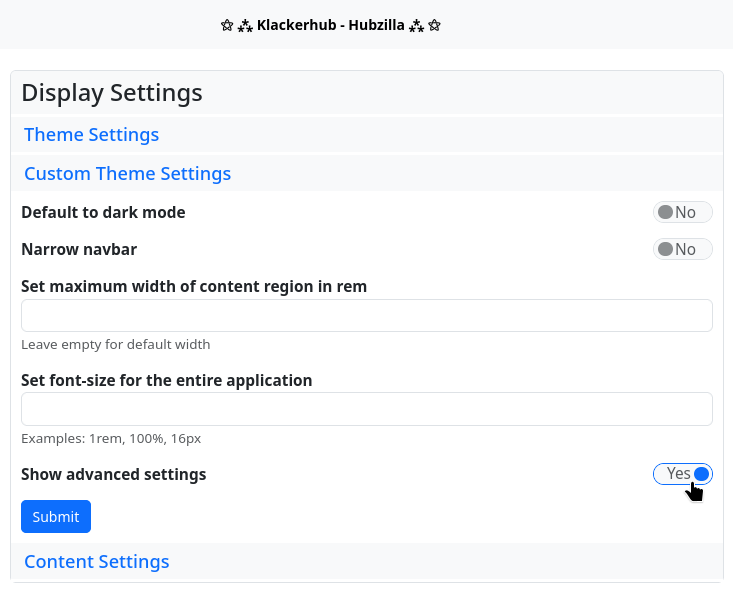
However, the input screen initially only has a few options (five settings). The last setting is the one for which you must switch on the switch first: ‘Show advanced settings’. Click on ‘Submit’ and call up the ‘Customised theme settings’ tab again. You will now see many more settings.
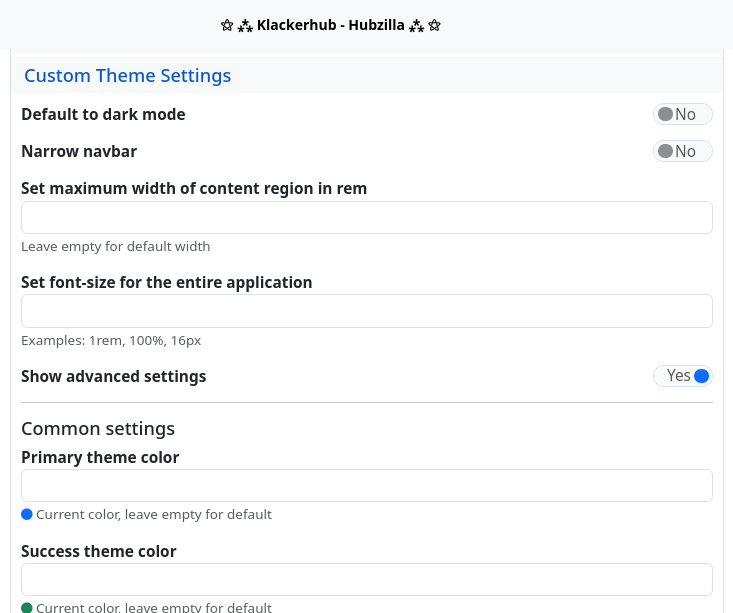
As an example, the colours are changed here, the size of the avatars in the stream is adjusted and a background image is set.
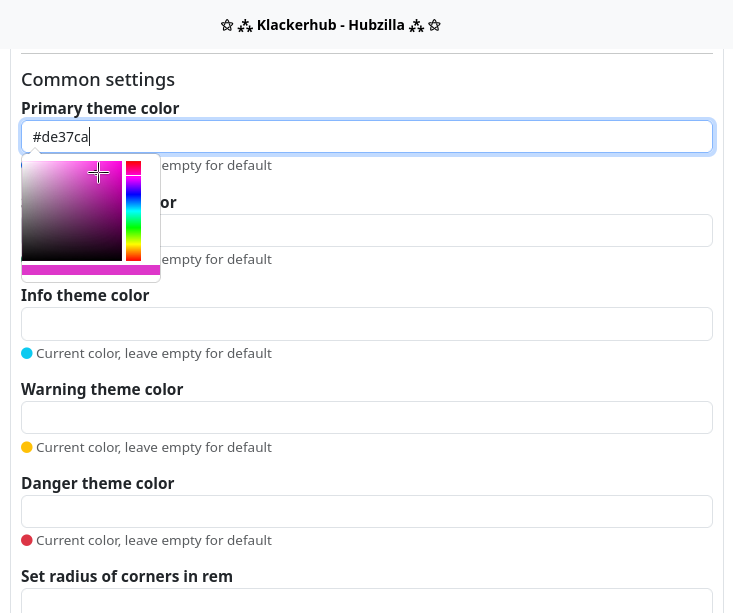
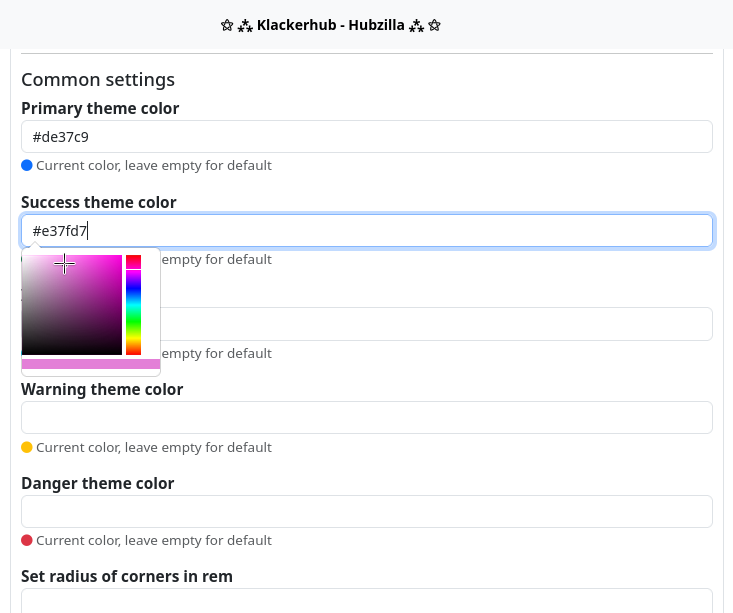
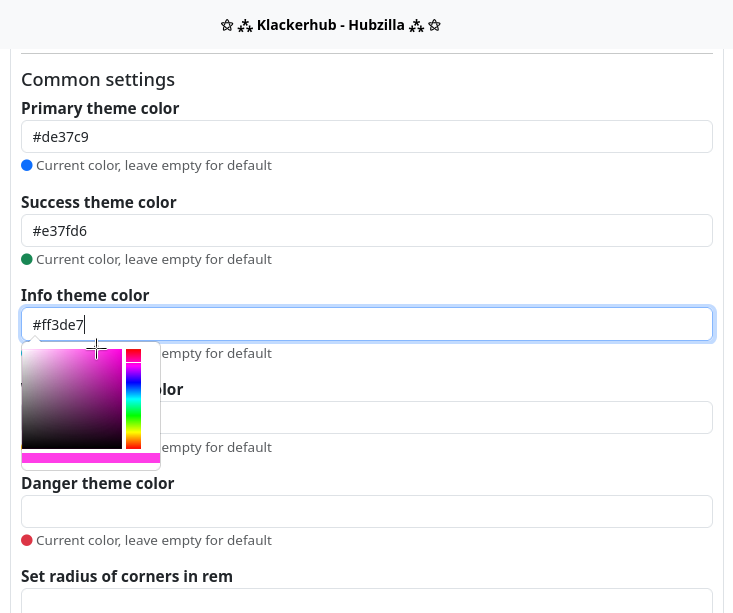
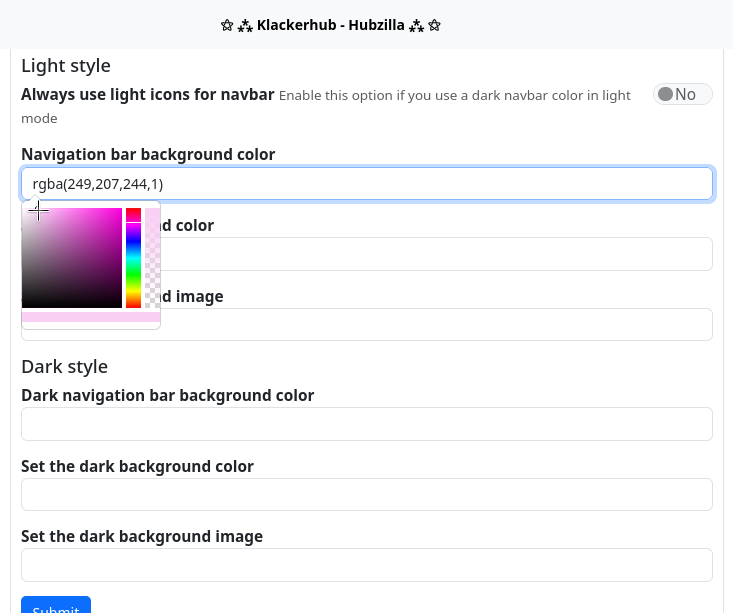
Under the main settings you will find the settings for the colours of the colour scheme. The default colour is displayed as a small circle under each input field. When choosing your own colour, it makes sense to use the standard colour as a guide, at least in terms of brightness. If you click in one of the input fields, a colour selection dialogue box opens, which you can use to specify the colour. As an example, here is a purple colour scheme in which the basic colours are changed: ‘Primary theme color’, i.e. the basic colour of the theme, ‘Success theme color’, which is the colour for clickable links, for example, ‘Info theme color’, which is displayed as the background colour for highlighted menu items, for example, and the ‘Background colour of the navigation bar’. All other colours are not changed in the example. The choice of colour is of course up to you.
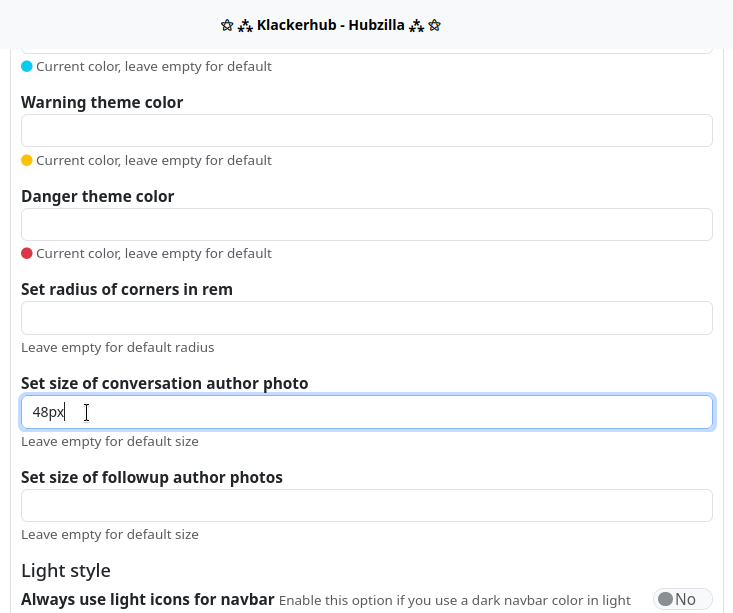
Schließlich die „Größe der Avatare von Themenstartern“ auf 48 Pixel festlegen.
The background image is still missing. This should be relatively large, approximately the size of the main screen used. It is also advisable to use a rather light or pale image (if necessary, lighten it with the graphics programme and reduce the contrast) so that it does not ‘overwhelm’ the actual content.
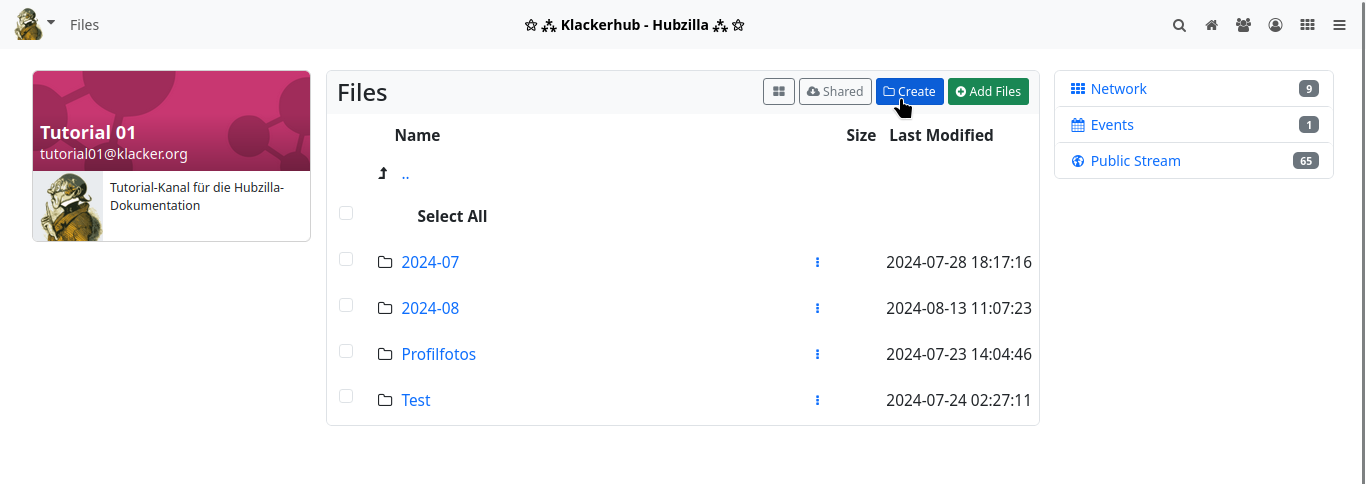
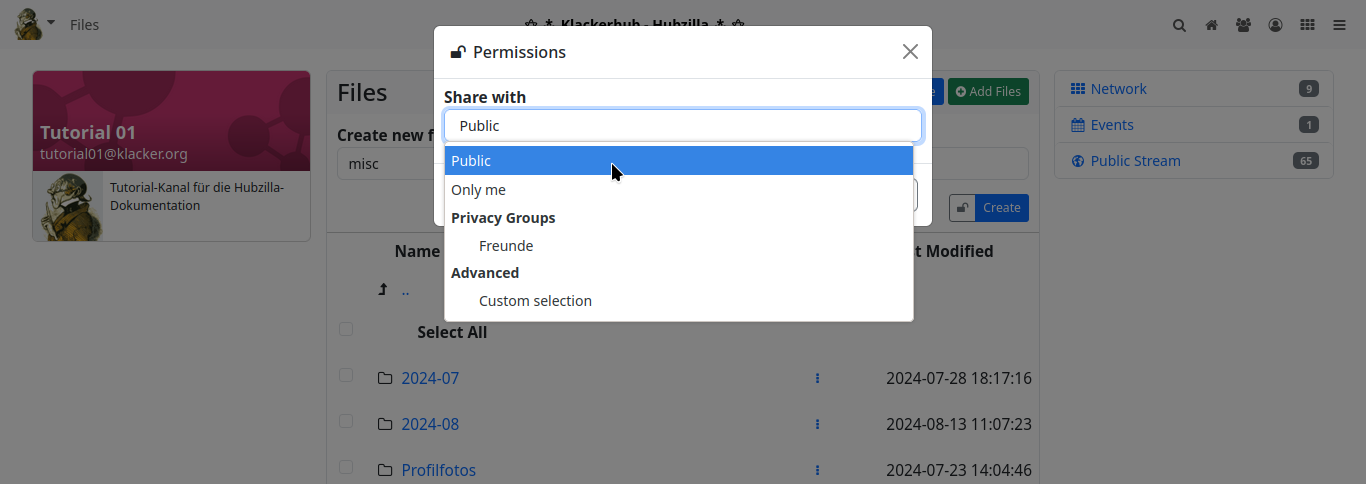
The background image must be accessible somewhere via a URL. It makes sense to upload the image to the files (cloud) of your own channel and use it from there.
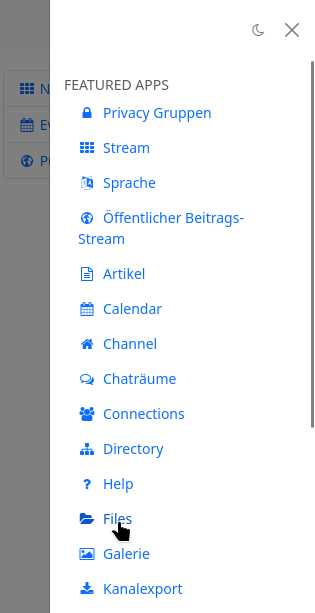
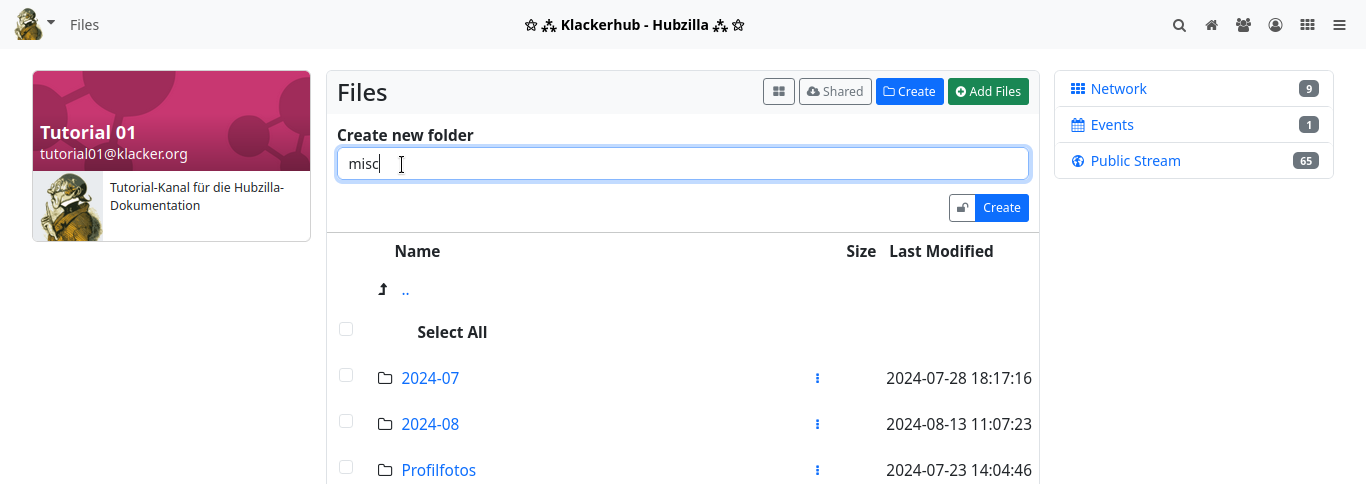
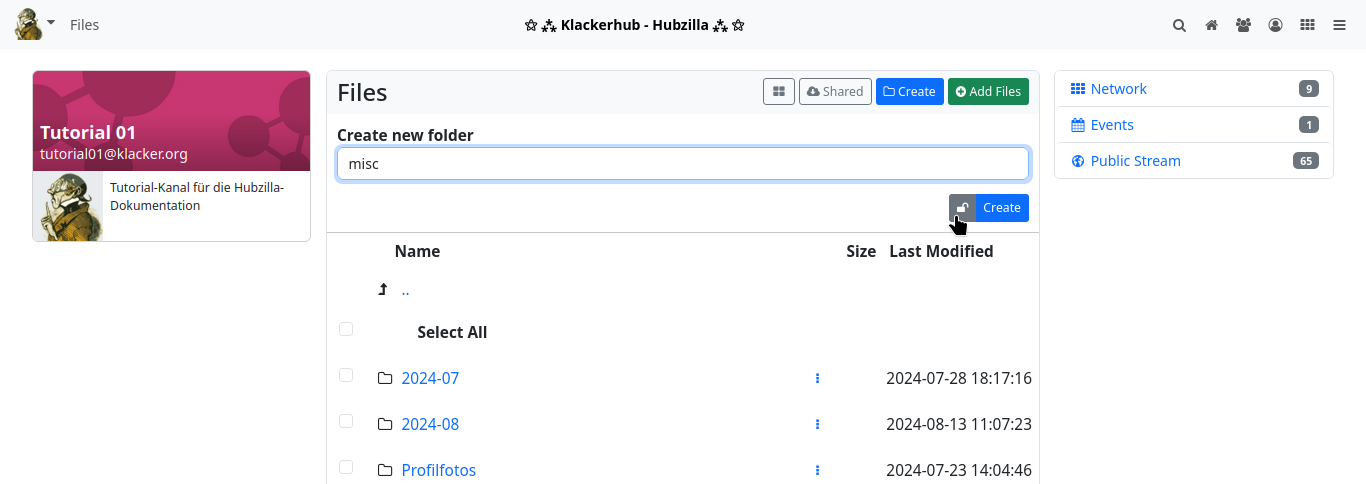
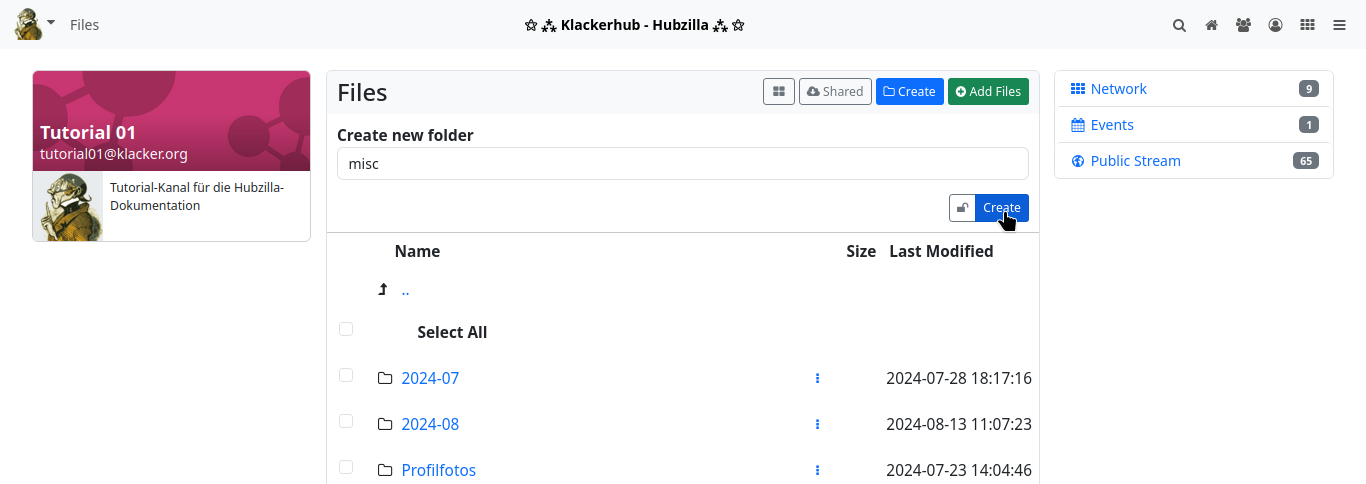
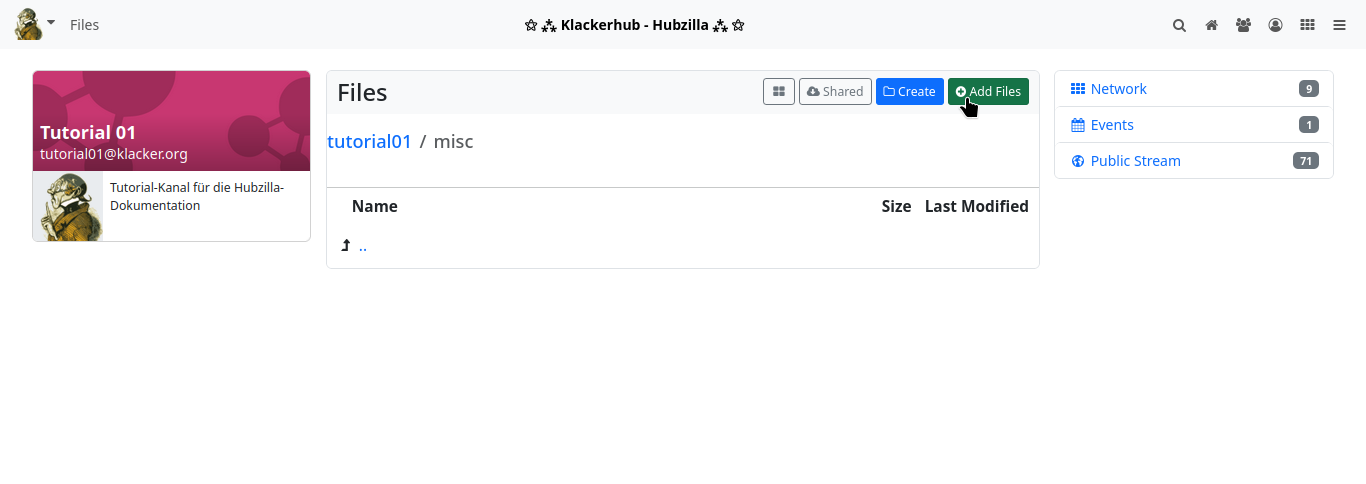
To do this, open the ‘Files’ app in the app menu. Here you can create an extra folder if you like (please note that the folder and the image uploaded there are publicly accessible... adjust the access rights with the small padlock, the privacy tool, if necessary) and then upload the image.
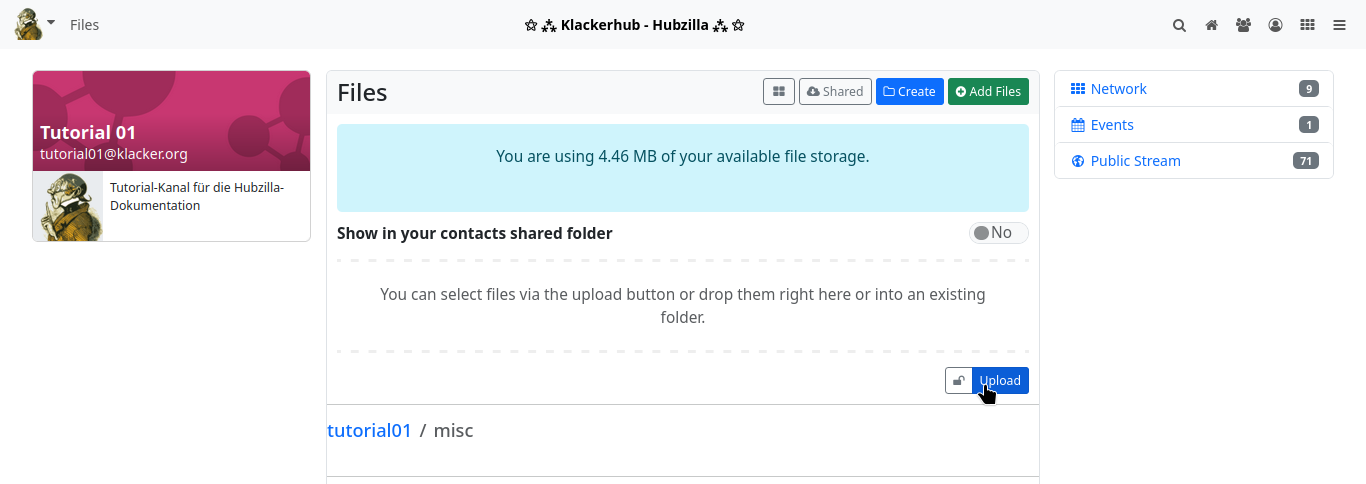
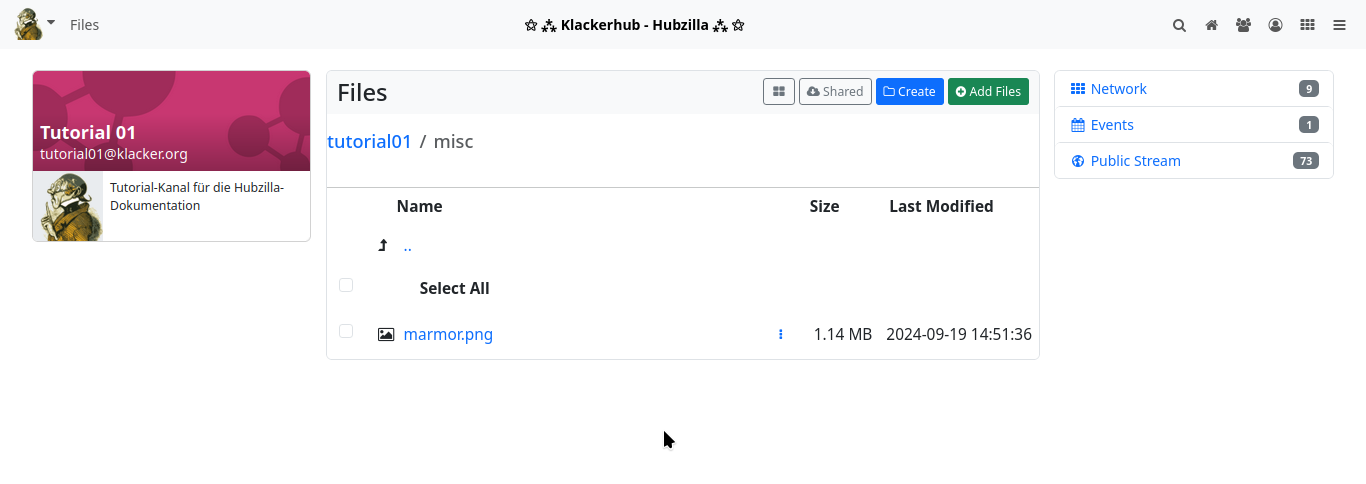
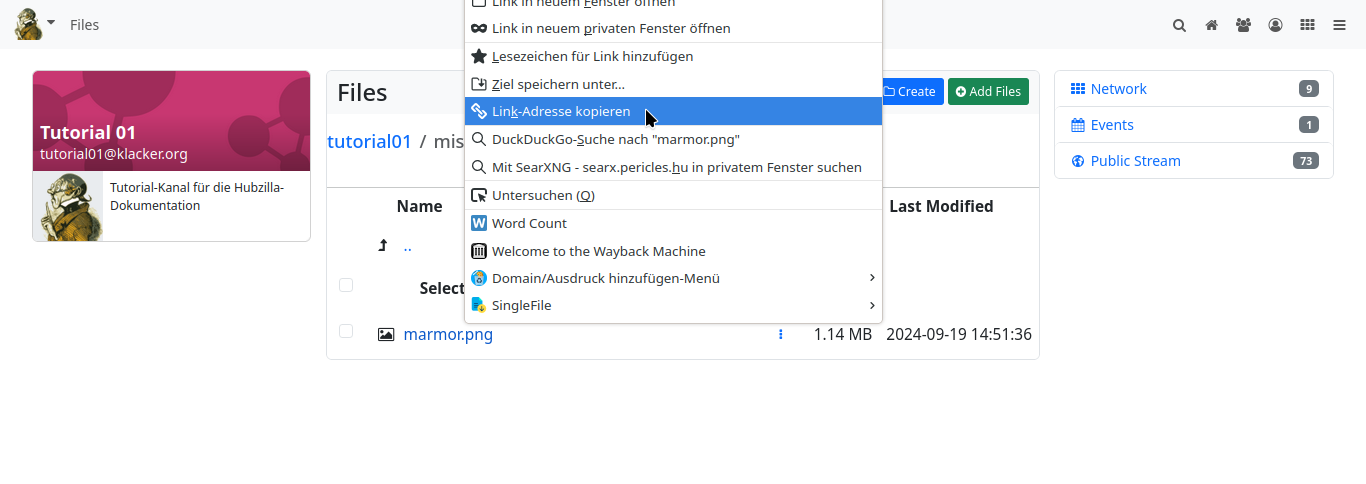
After uploading, the image is displayed in the file list. Right-click on the entry and select to copy the URL to move the URL for the image to the clipboard.
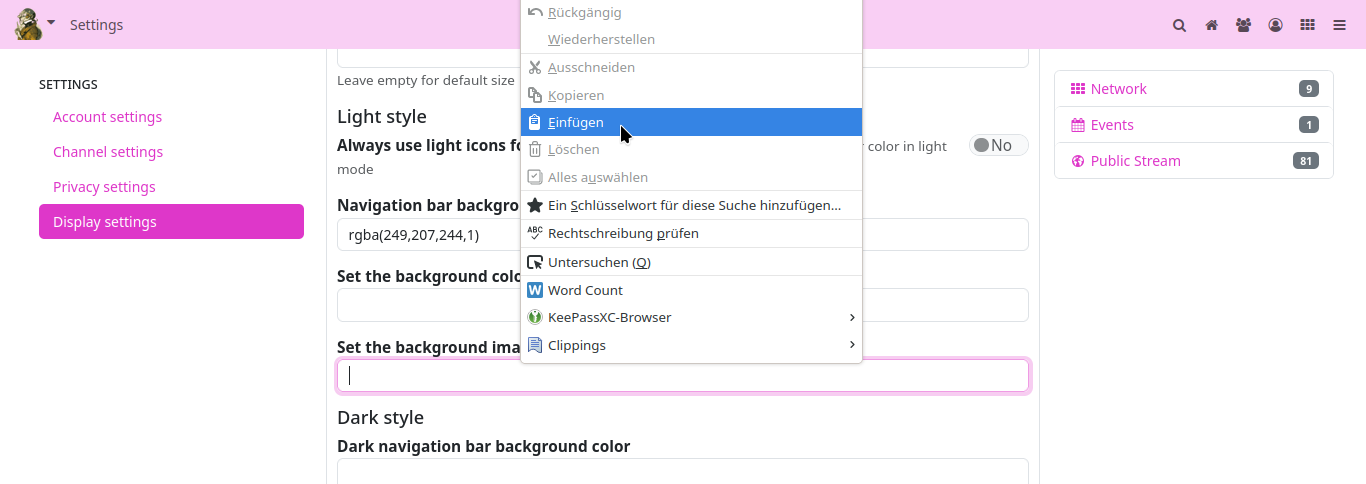
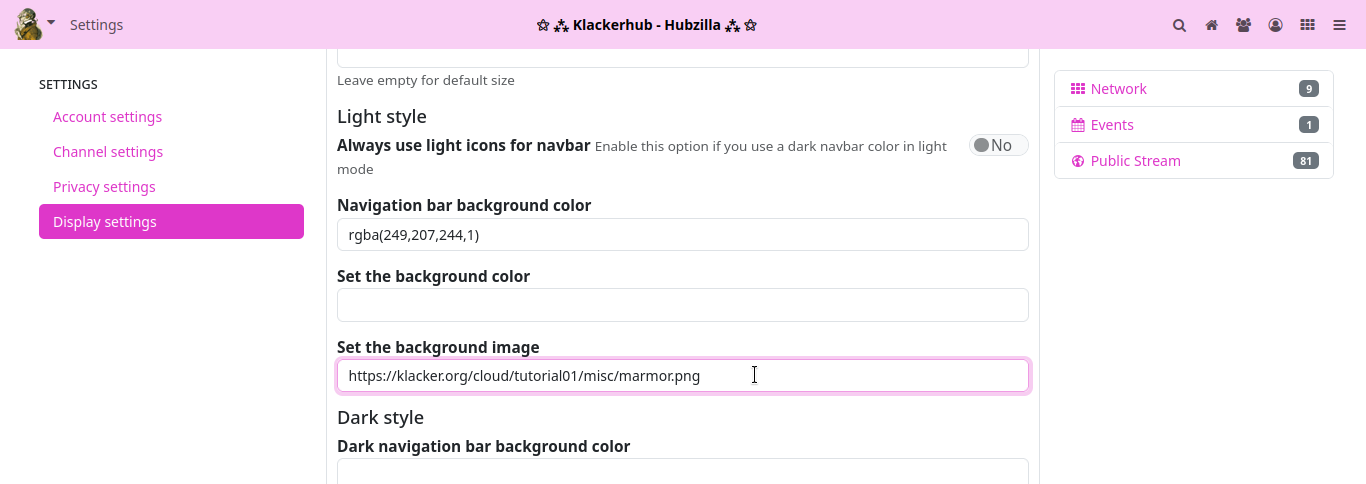
Back at ‘Customised theme settings’, you can now enter the URL in the ‘Background image’ input field.
One last click and Hubzilla shines in its new look.
PDL Editor
Basics
Various Hubzilla apps and basic functions are based on specially designed websites. The user does not come into contact with the underlying mechanisms, they simply use these pages. If you call up the ‘Channel’ app, for example, your own channel is displayed.
The channel banner can be seen at the top. The channel name and the channel address (handle) are embedded in this banner.
Below this is the navigation bar with the main menu, the title of the hub, any pinned apps and the app menu.
However, the area below the navigation bar is where things get interesting. This is where the biggest differences can be seen between the various apps. On the channel page, a card with the channel information (banner, profile picture, short description, profile information) can be found at the top of the left-hand sidebar (in the unchanged default state).
In the centre, in the content area, the content created by this channel is displayed. Below the profile info card, in the left sidebar, there is a card with some of the connections (when calling up external channels, the shared contacts are displayed here).
Below this is a card with the archives of the content (the top level is the years, one level below the months). If you select an archive, only the content published in the selected archive period is displayed in the content area. Below the archive card is the category card. All categories under which content was published are listed here. Clicking on such a category causes all content published by the channel under the corresponding category to be displayed in the content area.
Below the archive card is the card with the keyword cloud, which displays the hashtags used and can be used to filter the content of the content area (channel articles).
If there are unseen notifications, these are shown in another card in the right-hand sidebar.
This is the ‘normal state’.
Editing modules with the PDL editor
The various pages that can be accessed via apps are also referred to as ‘modules’.
As a user, you can now customise and design the appearance of these pages to a large extent. Internally, the structure of such a page is determined by a PDL file. These files are layout files that use the Comanche page description language.
So that the user does not have to deal with such a language, there is the app ‘PDL Editor’, with which you can change / create the page structure with a GUI.
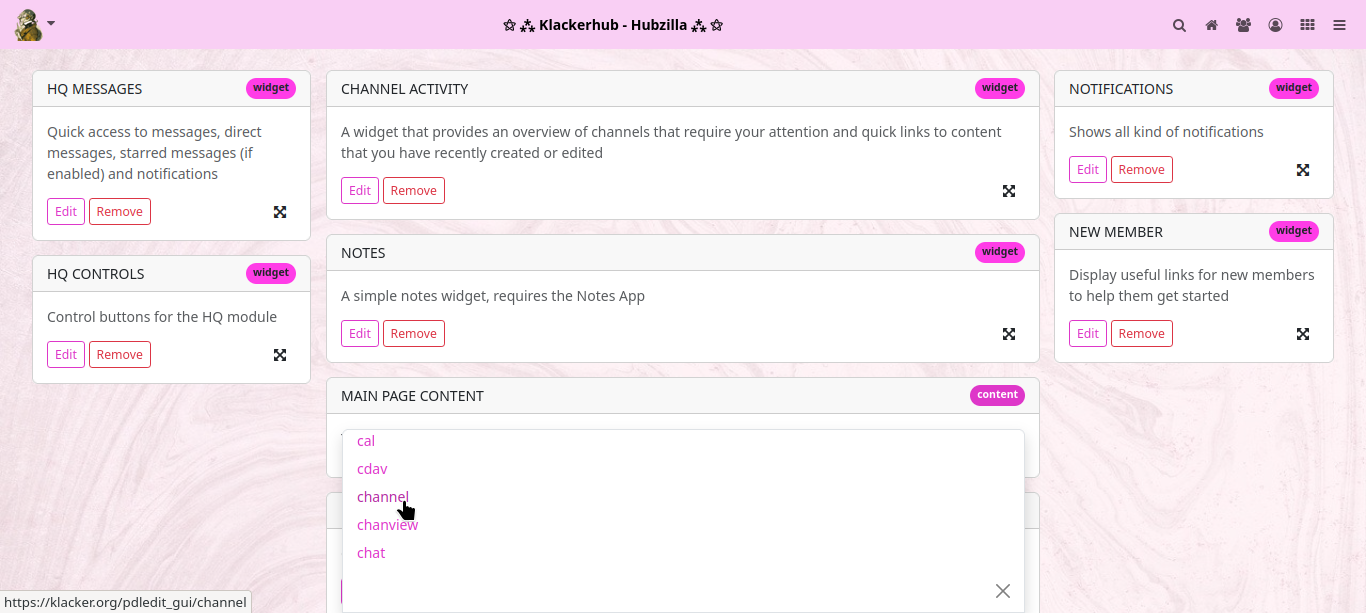
The app must first be installed and activated. Then you can call it up from the app menu. If you call up the PDL Editor, the page structure of the HQ is displayed as standard.
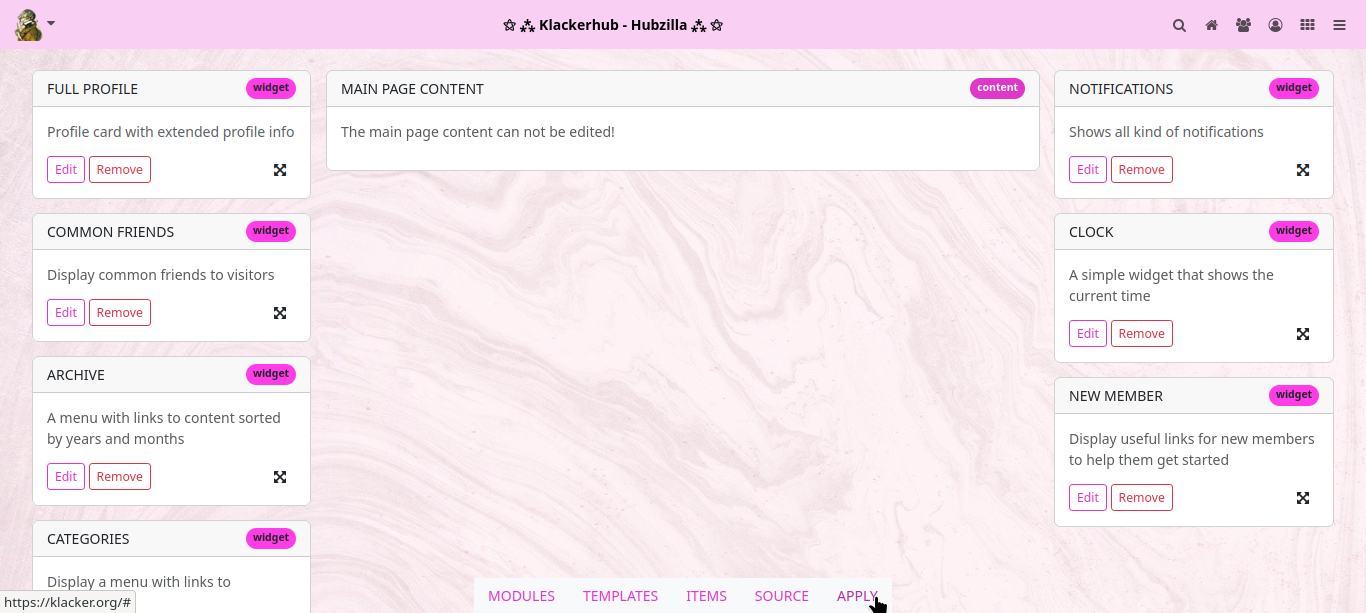
The main menu of the PDL Editor is located at the bottom centre of the screen. Here you will find the entries
‘MODULES’, “TEMPLATES”, “ITEMS”, “SOURCE” and “APPLY”.
From the ‘MODULES’ menu, you can select the module to be edited (this corresponds to the page to be edited).
Assuming you want to customise the channel page (as it is displayed to you and visitors), select the ‘channel’ module here.
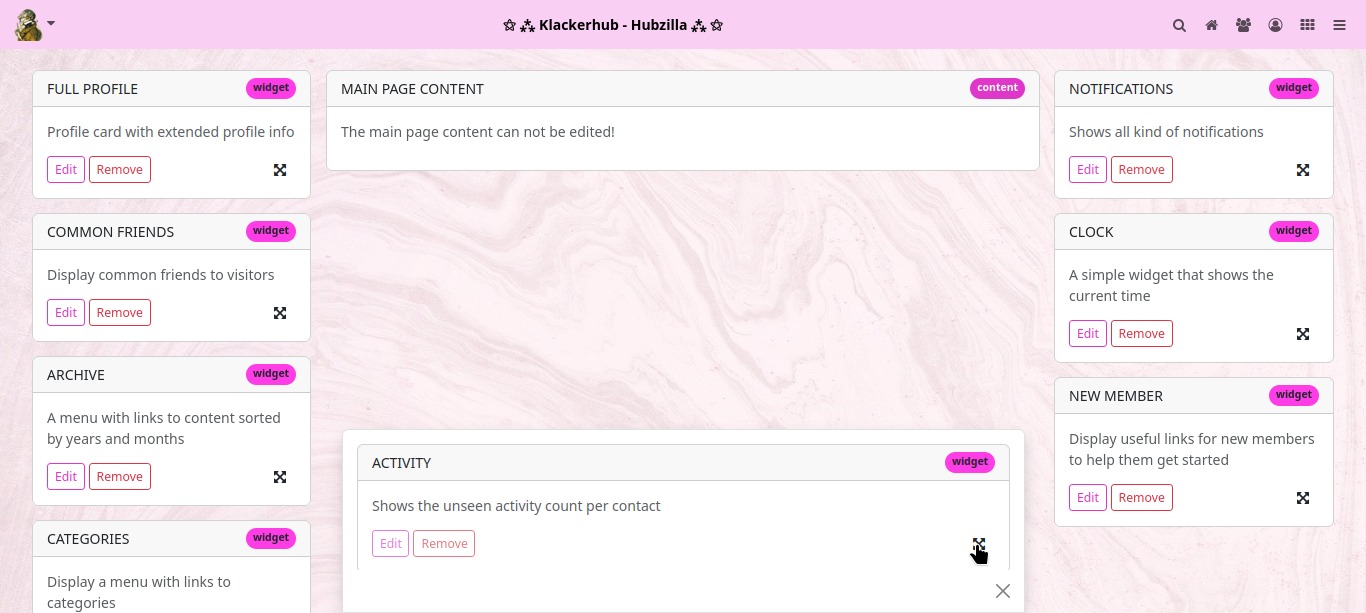
The PDL file for the channel page is loaded and you can see the corresponding components (‘ITEMS’) of this page that have just been described.
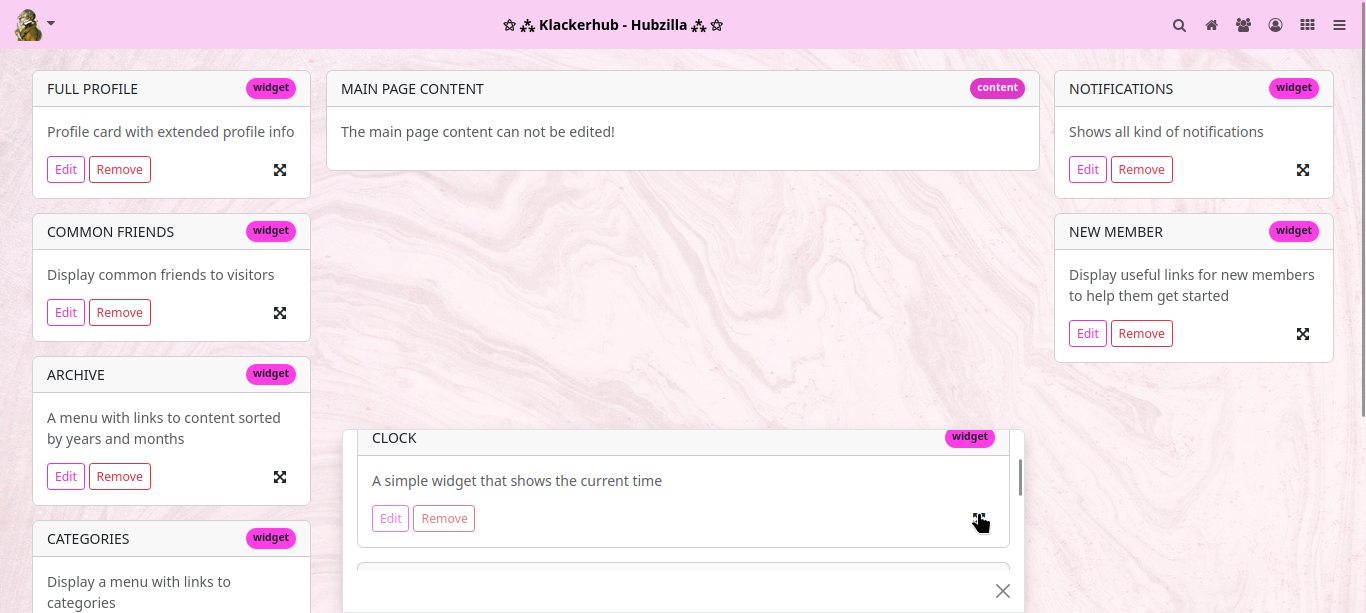
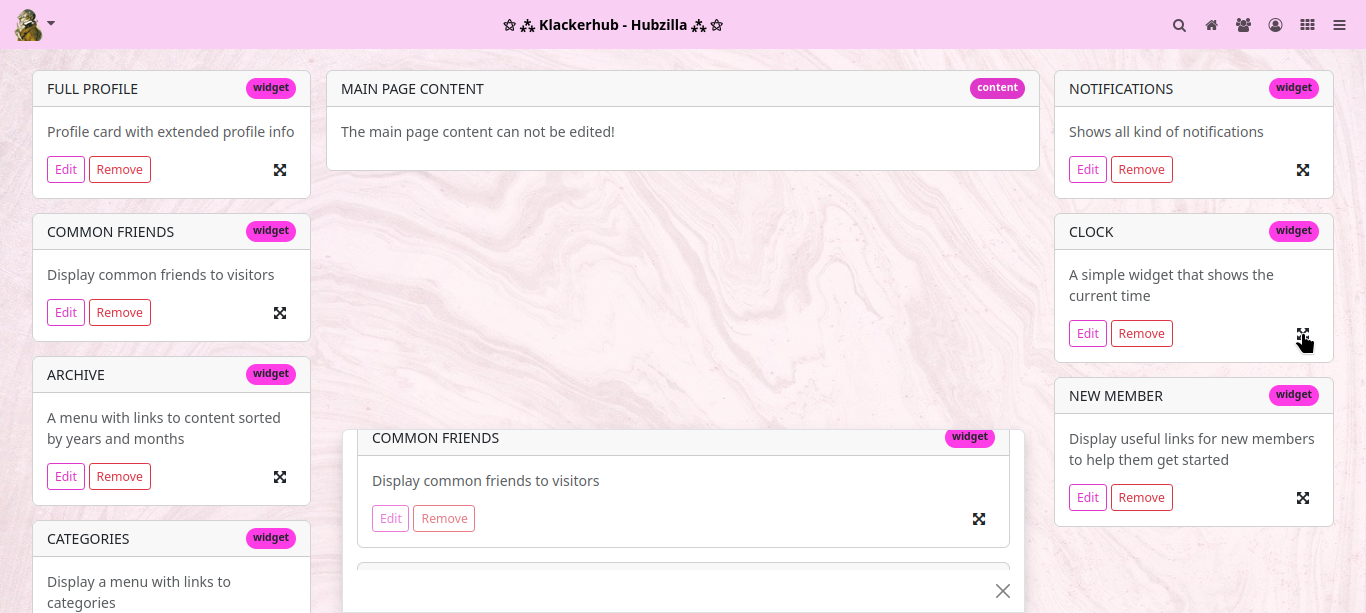
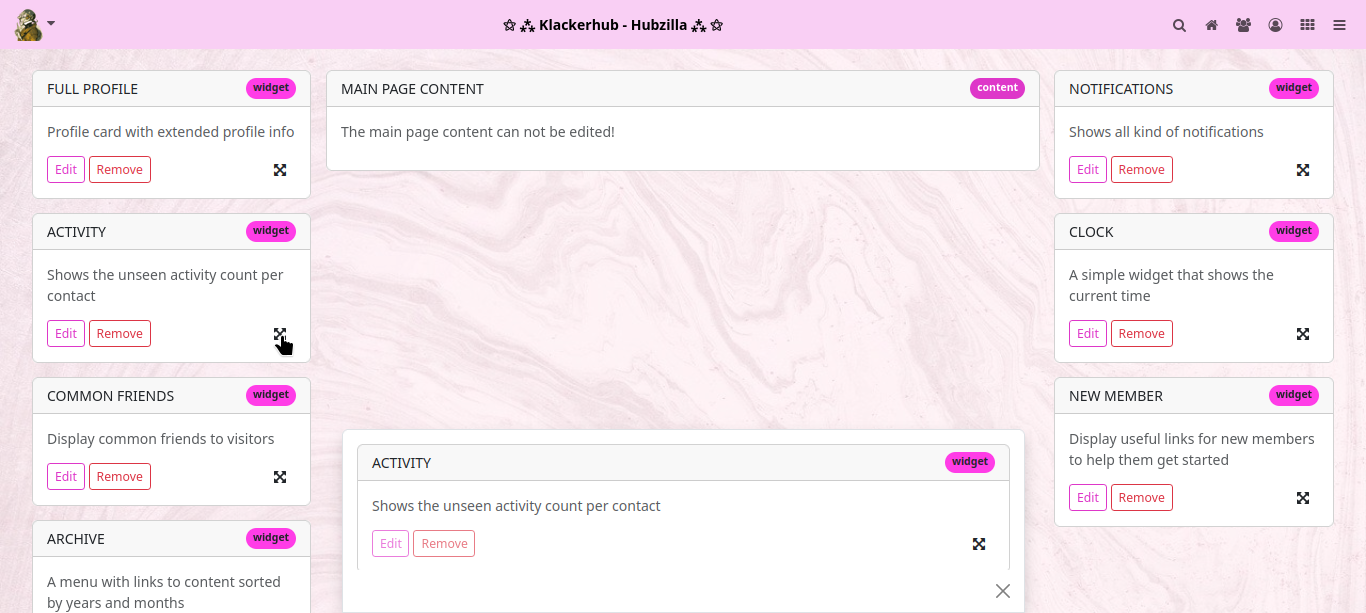
Assuming you would now like to ‘refine’ our channel page by displaying the time in the right-hand sidebar, select the ‘CLOCK’ item under ‘ITEMS’, ‘grab’ it with the mouse pointer at the cross arrow symbol and drag it to the right into the sidebar.
To apply the changes, click on ‘APPLY’ in the main menu.
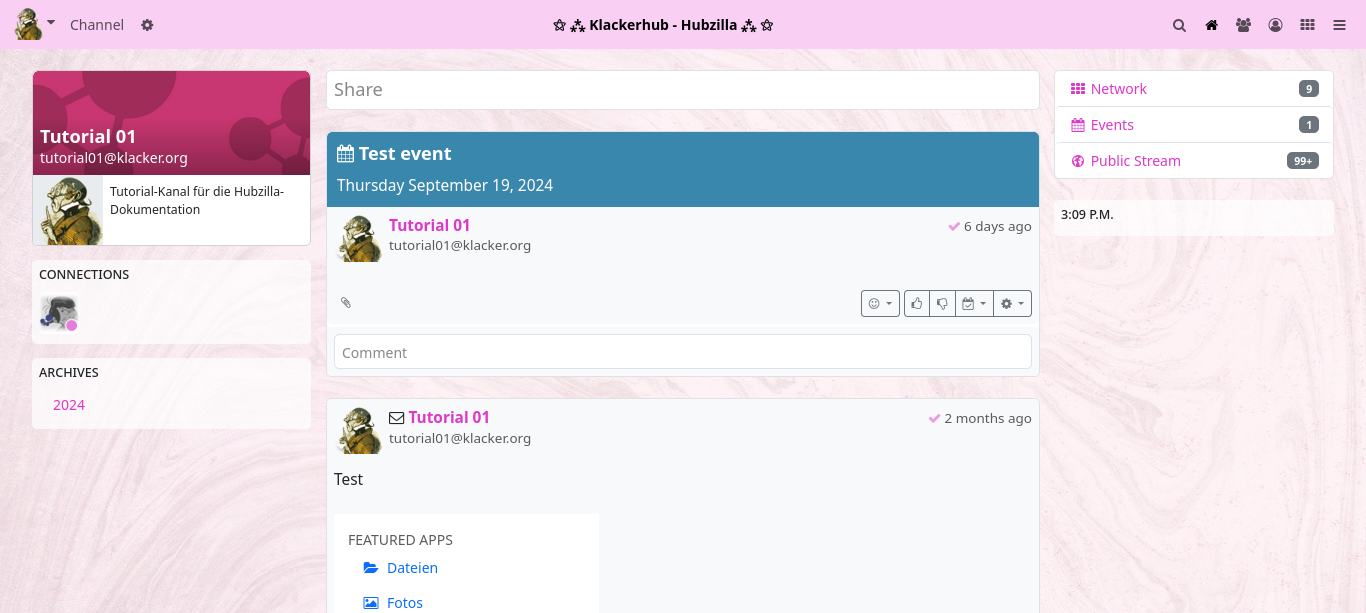
If you now open the channel page, a card with the current time appears in the right-hand sidebar.
In this way, you can customise all the pages found under ‘MODULES’ to your own taste.
If you have customised your page and it is somehow ‘so completely chopped up’: No need to panic! In the main menu, you will find the additional entry ‘RESET’ for customised layout pages. Click on it to reset the page layout to the Hubzilla standard.
However, not all items are presented here... Everyone can experiment a little. Most of them have an explanatory title.
If you click on ‘SOURCE’ in the PDL main menu, the source code of the current layout is displayed. A look here will help you familiarise yourself with PDL. You can also make changes directly in the source code... if something is not accessible via the ‘ITEMS’. However, you should familiarise yourself with the page markup language, blocks and modules beforehand.
PDL editor for advanced users
Suppose you want to make some links accessible via a menu in the right-hand sidebar of the channel page. This is perfectly feasible.
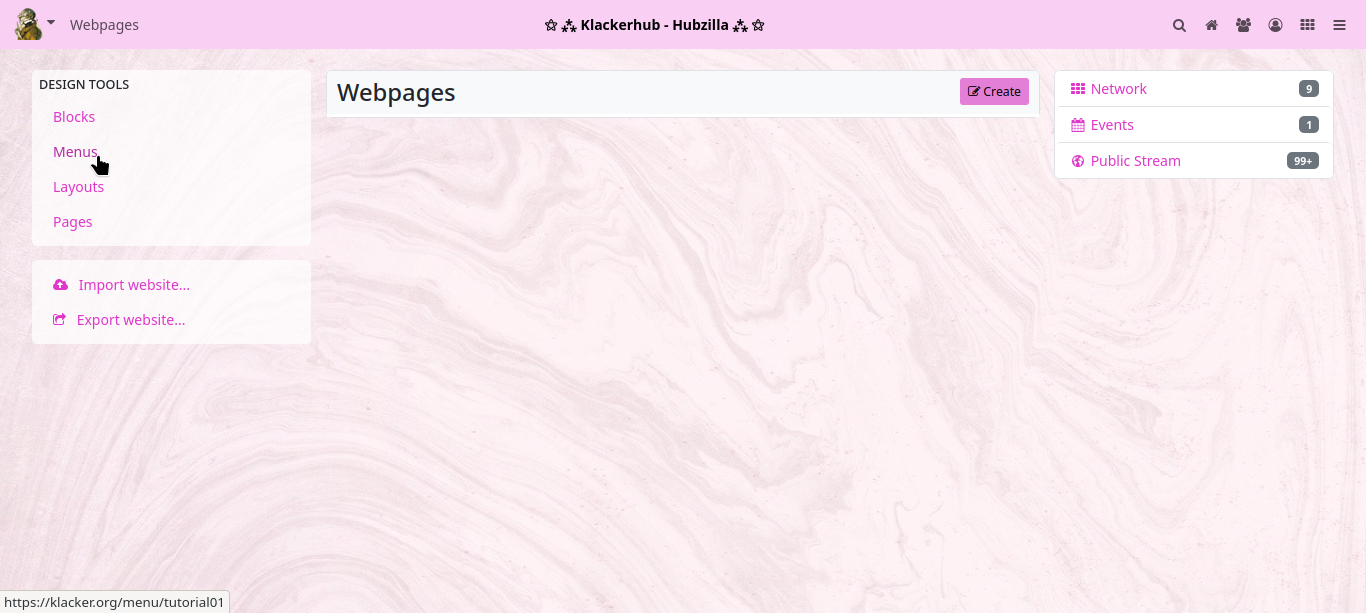
But first you need a menu. To create menus, however, you need to install and activate the ‘Websites’ app, because creating menus is part of the website functionality. So even if you don't want to create websites in your channel, you need the ‘Websites’ app to create menus. Although... that's not quite true. You can also access the menu editor in a different way than via the ‘Websites’ app. To do this, enter <url-des-hub>/menu/<channel name>. Now you also end up in the menu ‘app’. However, it is easier with the website app.
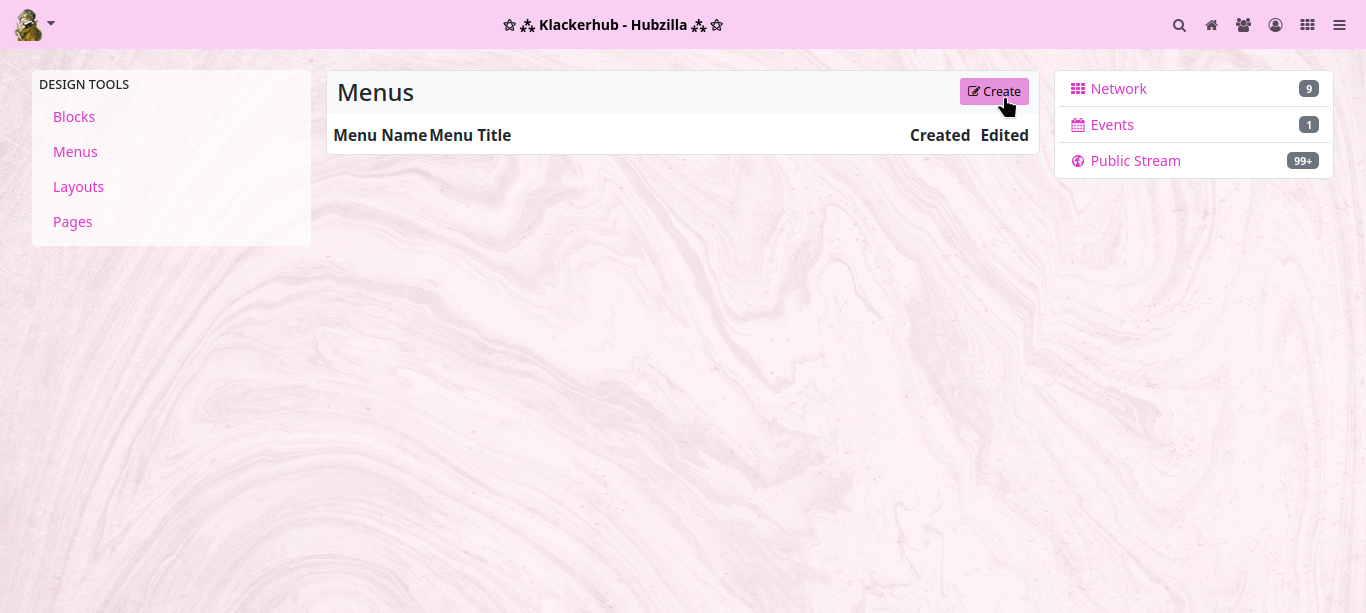
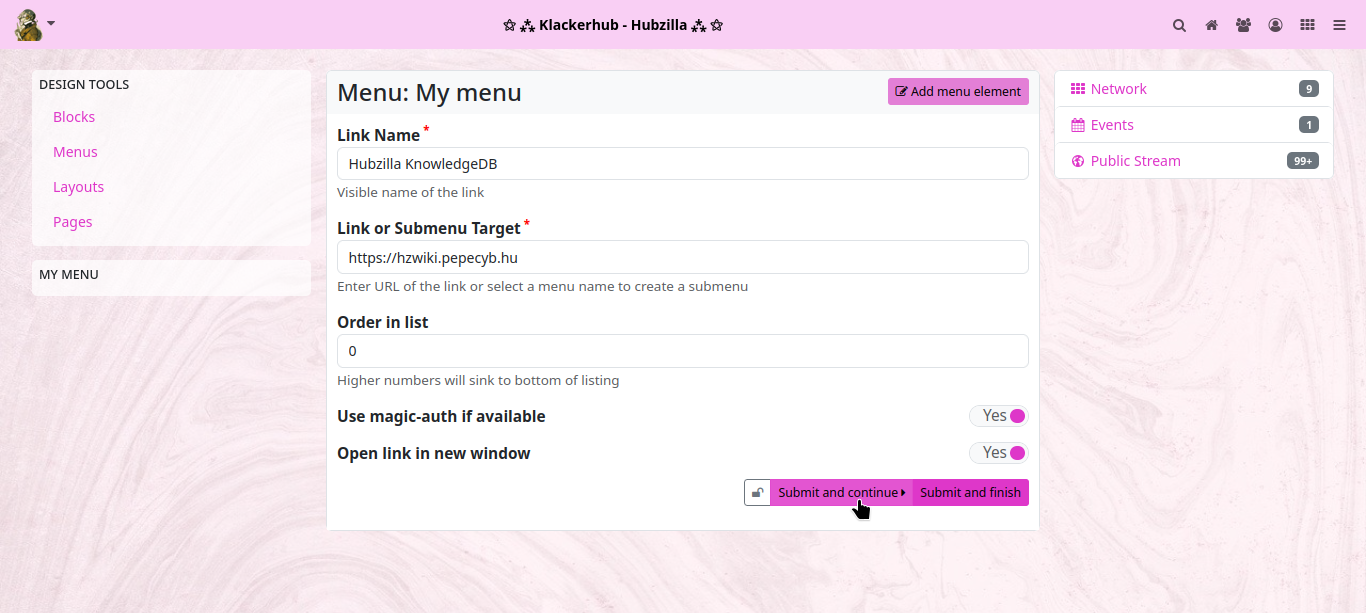
Click on ‘Create’ to open the menu editor.
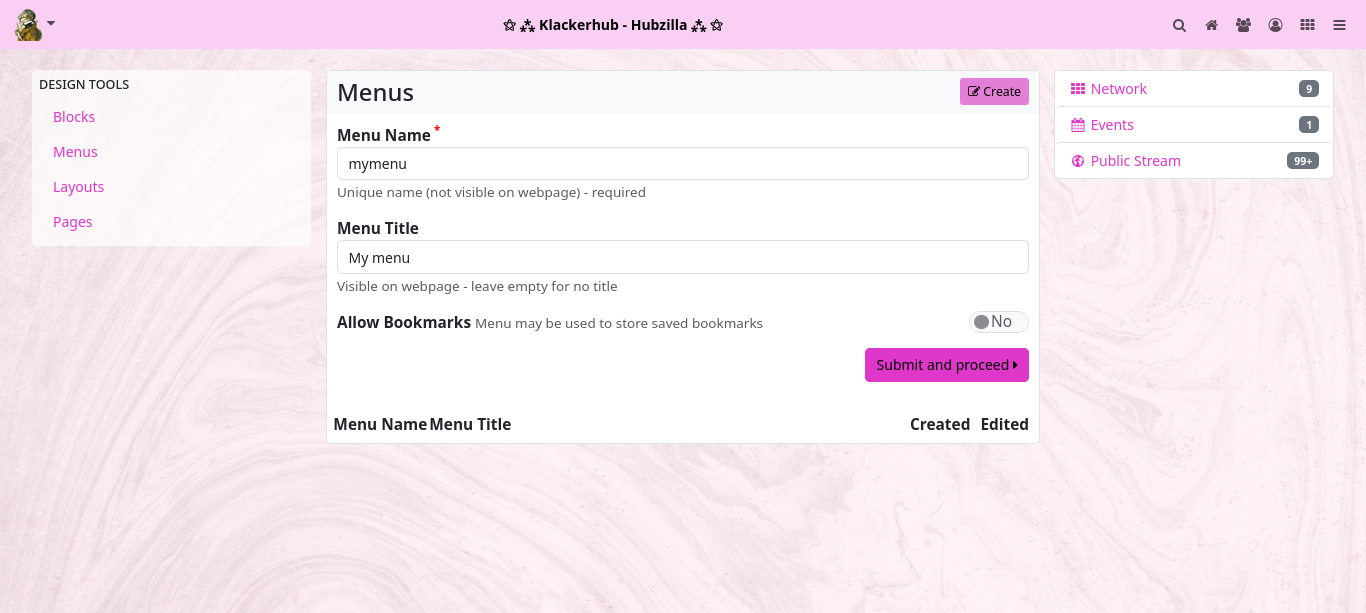
Here you now have to enter a suitable name (which you can use to address the menu later) and (optionally) a title for the menu (this can be seen later on the website).
Then click on ‘Submit and continue’.
You will now be taken to the link editor for the menu you have just created. Here you enter the title of the menu item and the corresponding URL. You can also specify the order in which the menu items are sorted using the ‘Order in list’ field. Once you have completed the entry and clicked on ‘Submit and continue’, you can then enter another menu item. Clicking on ‘Submit and finalise’ adds the entry and closes the menu editor (you can of course also edit menus afterwards).
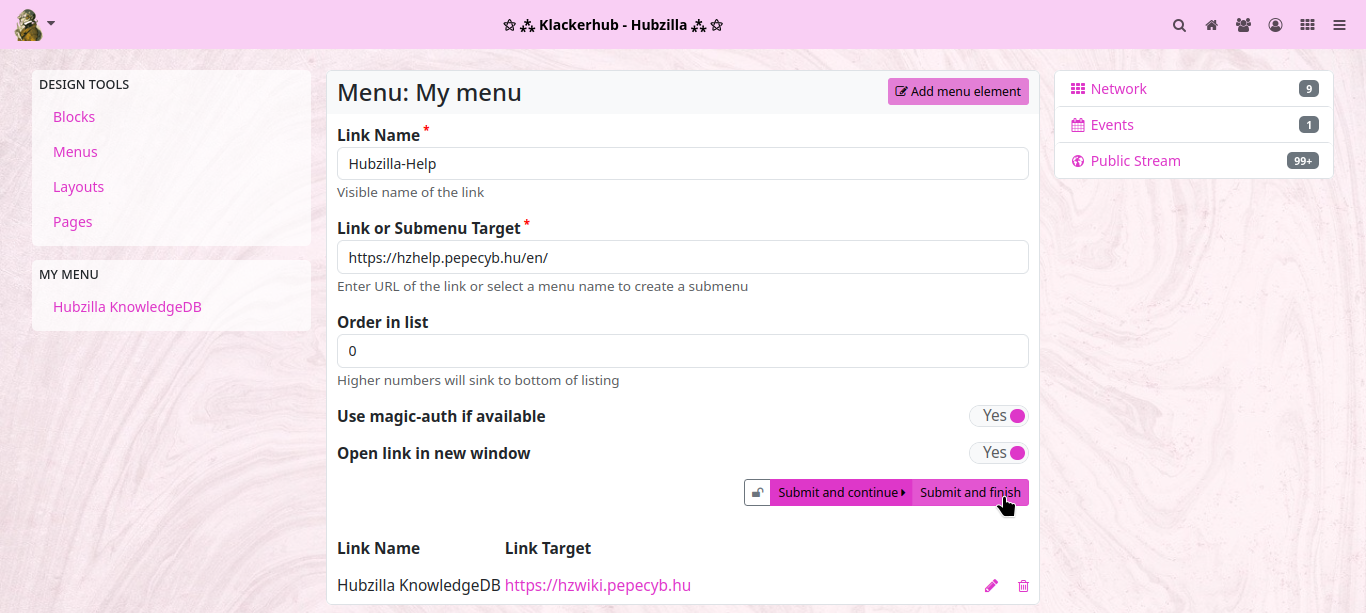
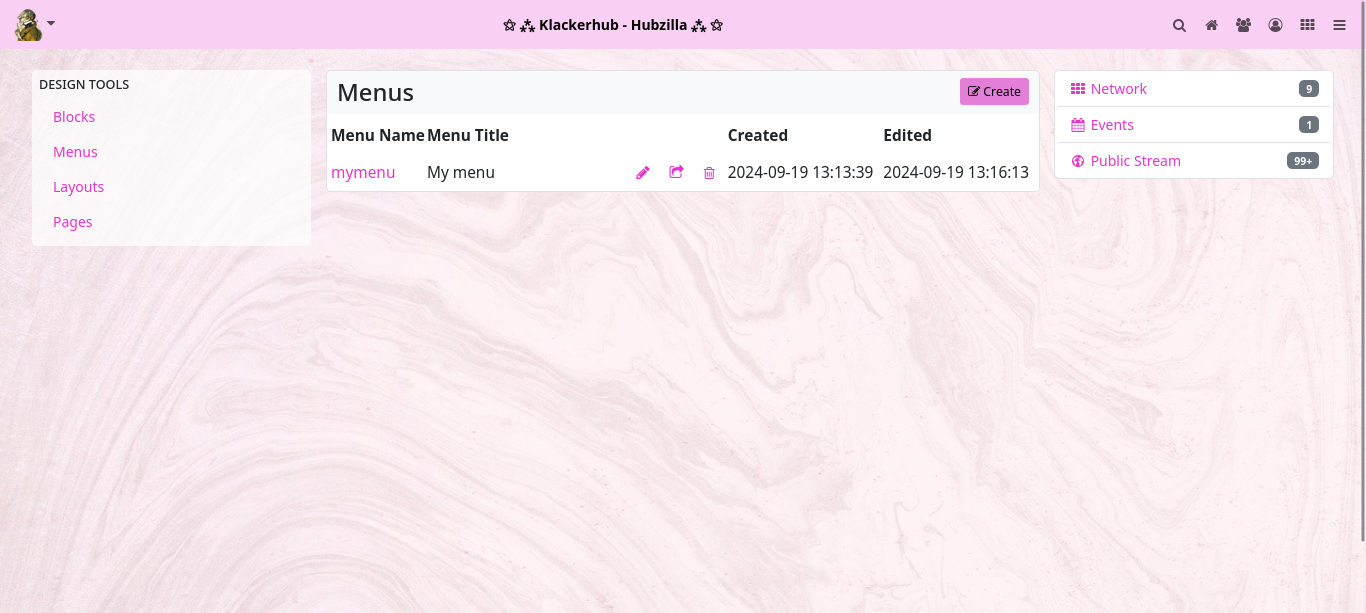
The new menu now appears in the list of menus.
Now return to the PDL editor and call up the channel module.
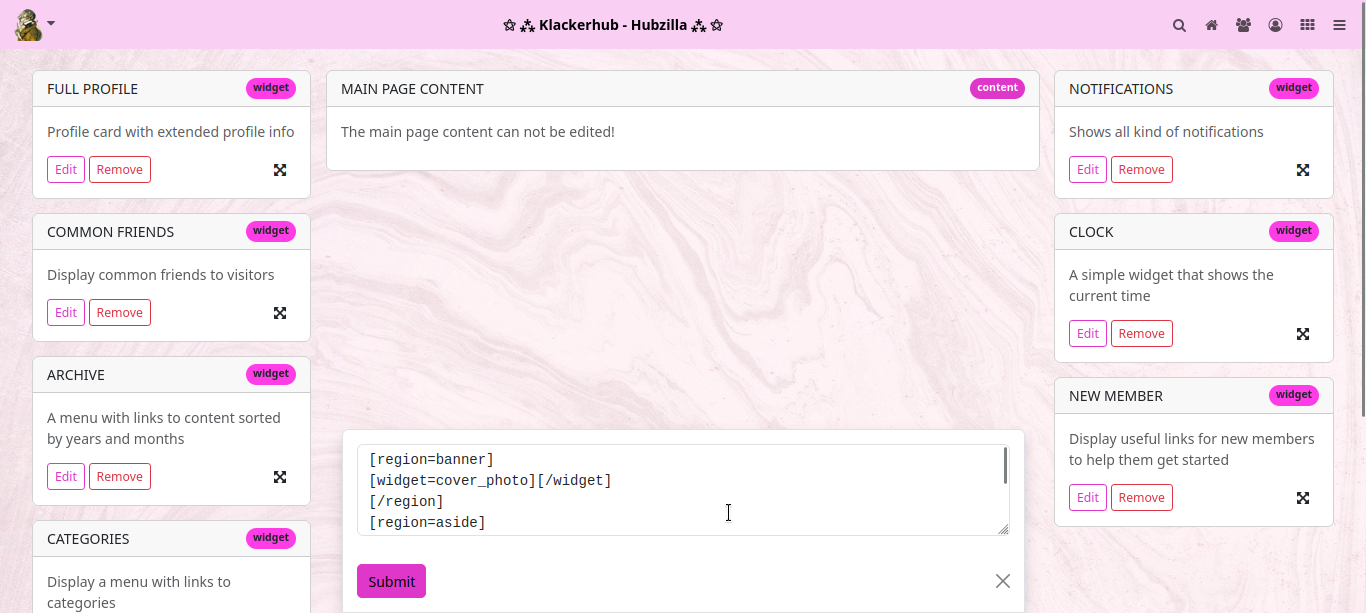
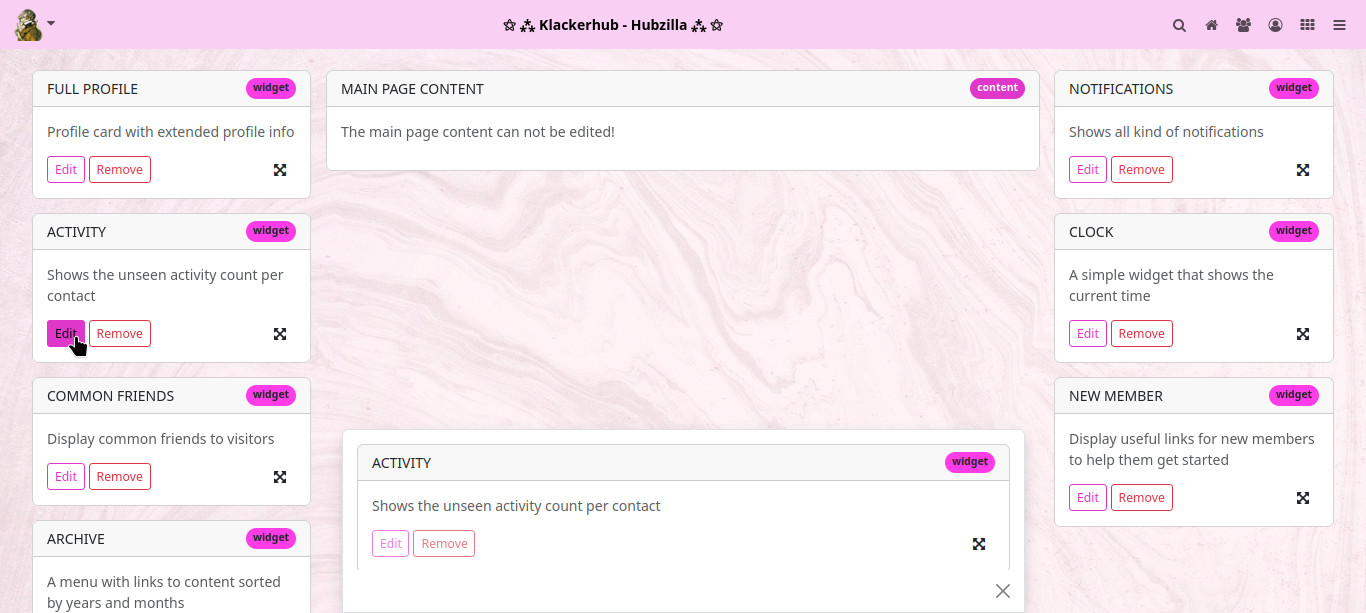
Now there are again two possibilities. Either you open the source text editor ‘SOURCE’ and enter the entry for the menu card in the appropriate place by hand...
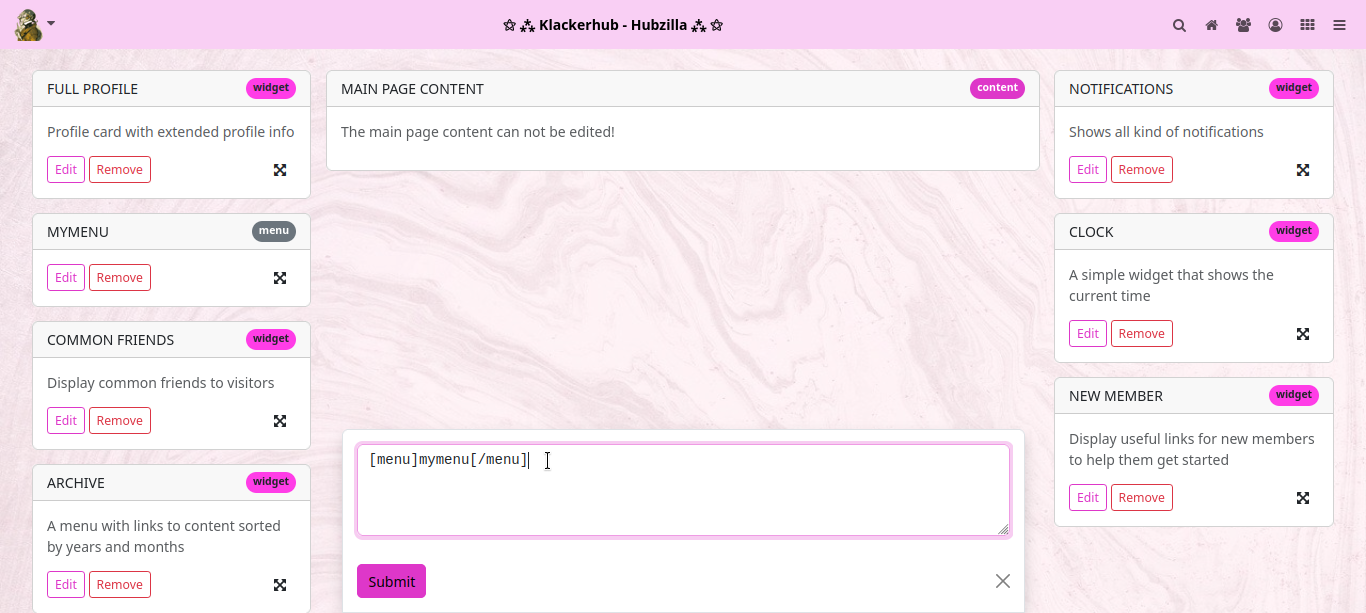
If you want the menu to appear in the sidebar, select the ‘aside’ region and enter [menu]mymenu[/menu] as a new line.
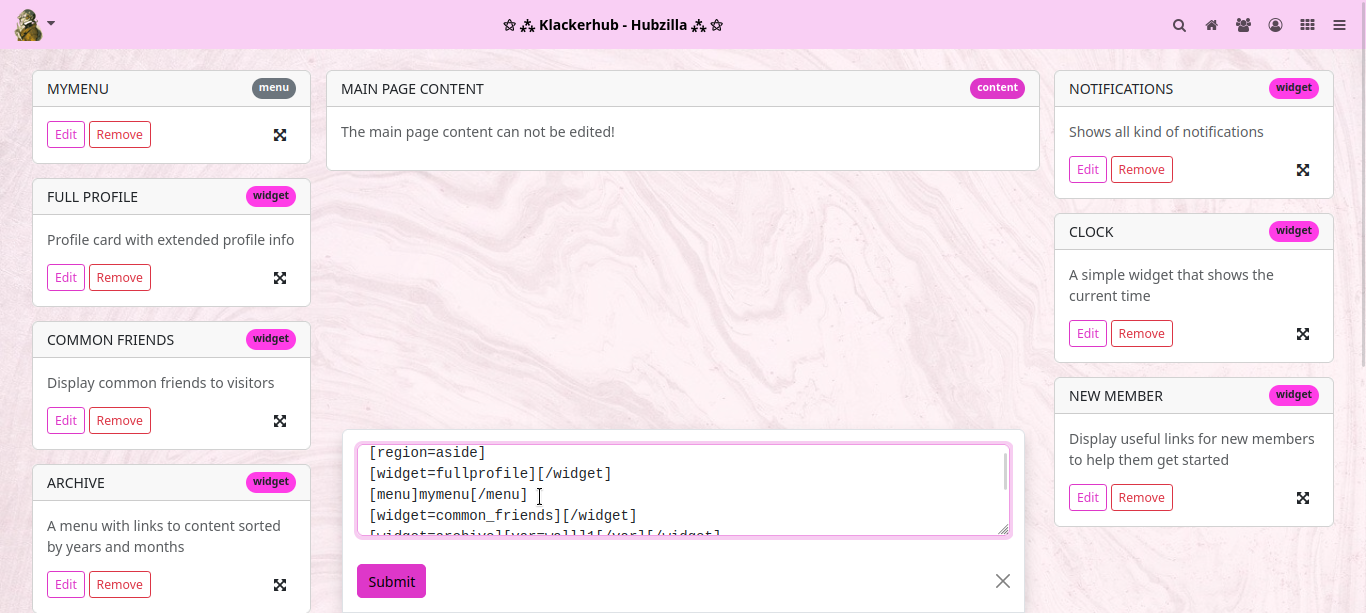
Now click on ‘Submit’ and the new map will appear in the visual PDL editor. Accept with ‘APPLY’... and then the menu is shown on the channel website.

The second method (with which you don't have to search for the right place in the source code) is to simply drag any item in the PDL editor to the place where the menu should appear. Then click on the ‘Edit’ button for this item, change the existing entry to [menu]mymenu[/menu] and click on ‘Submit’. Then click on ‘APPLY’ and you have the same result.
Have fun experimenting!