Step by step into the Fediverse with Hubzilla
Getting started
As with any other Fediverse service, the first step is to choose a server (hub). This is the case in Fediverse and an essential part of the freedom it offers.
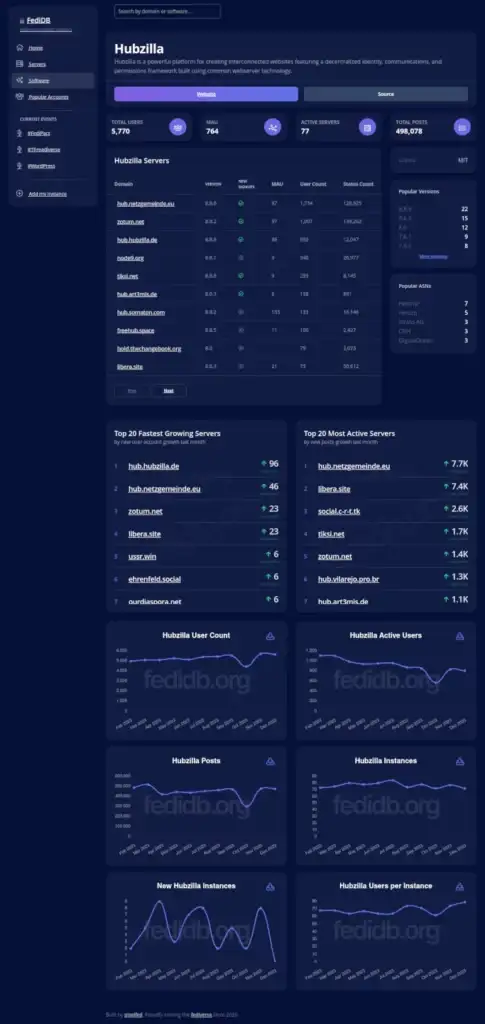
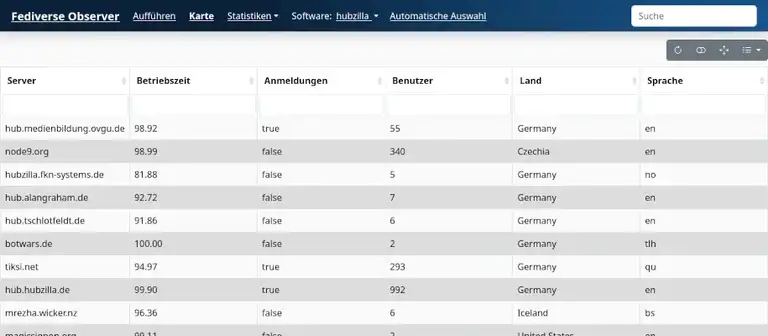
You can find hubs in the usual ways: by using appropriate databases or lists.
e.g.
List of public hubs on a Hubzilla server
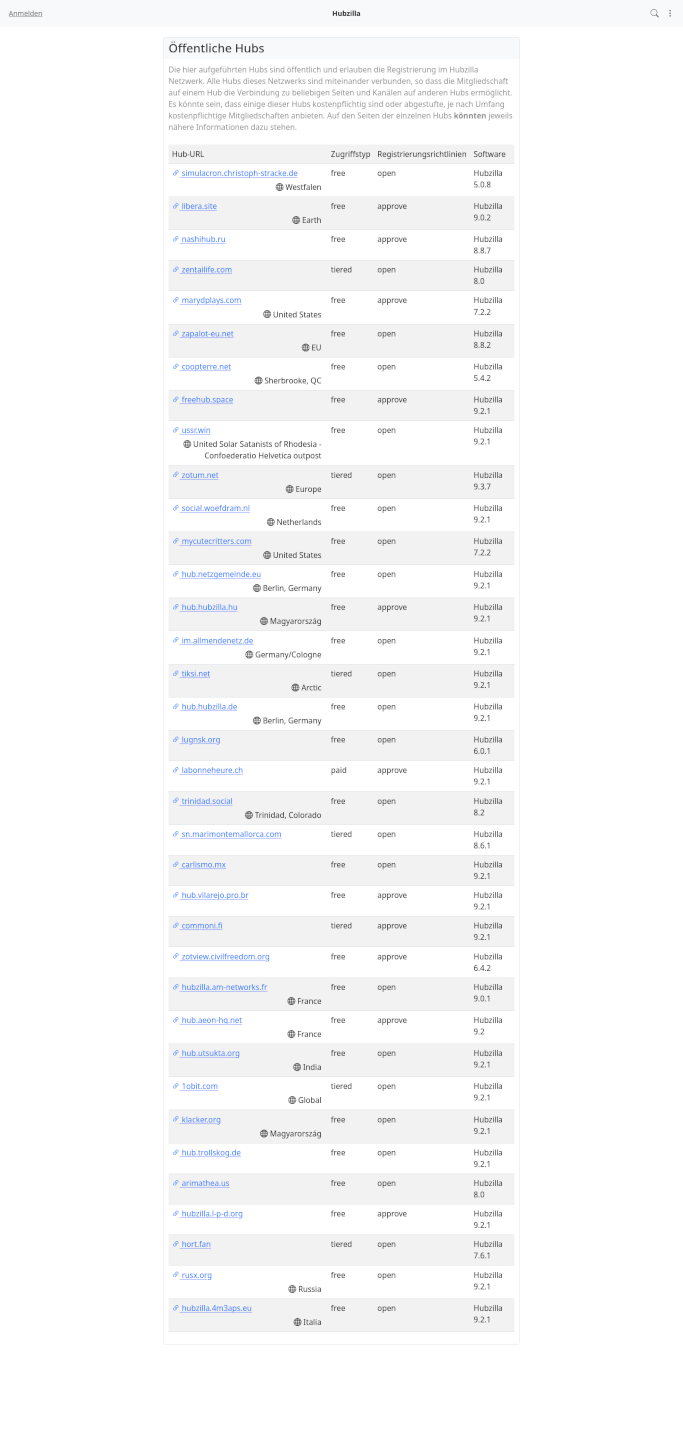
Once you have selected a hub, call up the URL. This will take you to a standard page. This may vary slightly from hub to hub, but you will usually find two menu items at the top of the screen: ‘Login’ and ‘Register’.

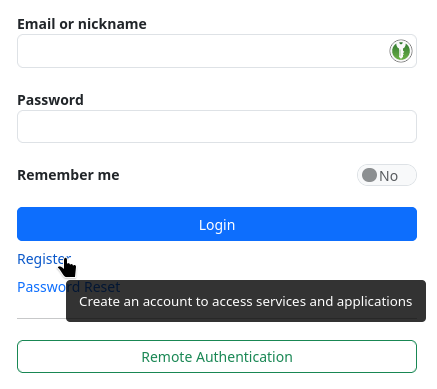
Clicking on the link leads to a registration form. There are several possible scenarios here. Some hubs are set up so that you create a channel when you register (another special feature of Hubzilla is that you can operate several channels with one account). With other hubs, you initially only create one account using the form. Once you have created this account and log in for the first time, you will be directed to the channel creation form.
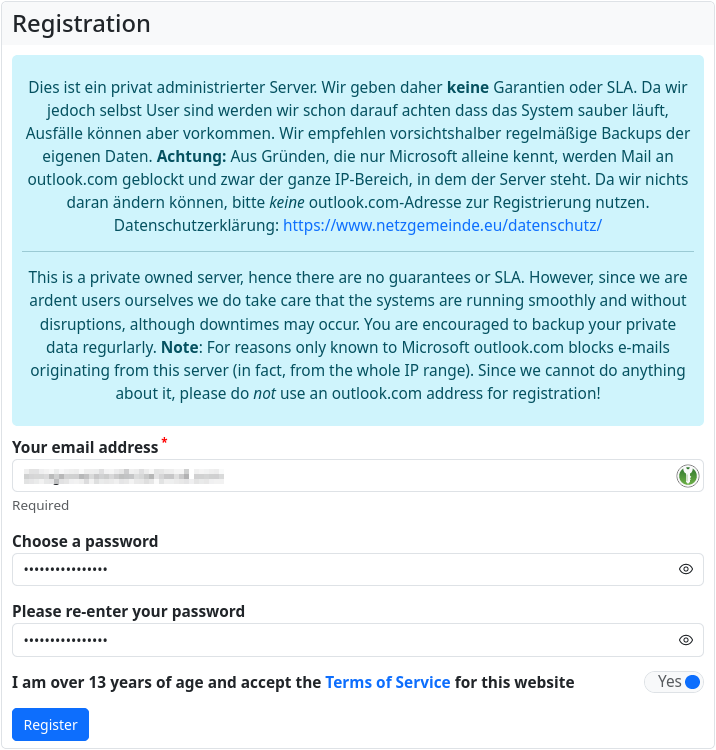
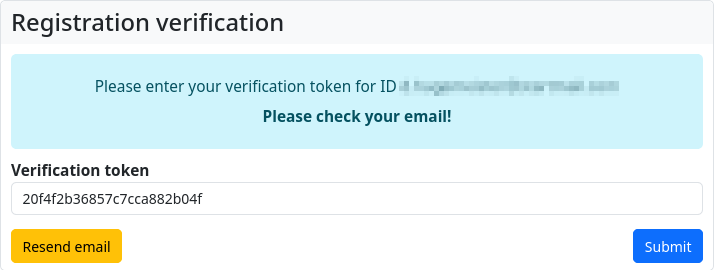
To create an account, you need a ( valid ) e-mail address and you have to come up with a password. You also have to confirm your age and then you can send the information you have entered. You will then be taken to an input mask where you have to enter a verification code (usually, there are also hubs that skip this step... I think it's risky). You will receive this code by e-mail after submitting the registration form.
If you did not have to create a channel when you registered, you will be redirected to the ‘Create a channel’ page at this point. Here you must now come up with a name for your own identity. And also a short name (‘nickname’) for the channel (a suggestion is automatically generated from the channel name). This short name will be the main component of the Fediverse handle (i.e. your own ‘Fediverse address’).

| Note regarding the handle at Hubzilla: |
|---|
| Compared to other Fediverse services, Hubzilla makes an exception with the handle. While an ‘@’ is placed in front of the handle almost everywhere, this is not the case with Hubzilla. However, this is quickly internalised. For example, if you use Hubzilla to search for a user who has a Mastodon account via their handle, you simply omit the leading ‘@’. However, if you want to follow or search for a Hubzilla user from another Fediverse service, simply add an ‘@’ in front of the Hubzilla handle. |
Once you have created the channel, you are finally ‘in’. By default, Hubzilla takes you to the ‘’Headquarter‘’ (‘HQ’), an overview page of your own channel.
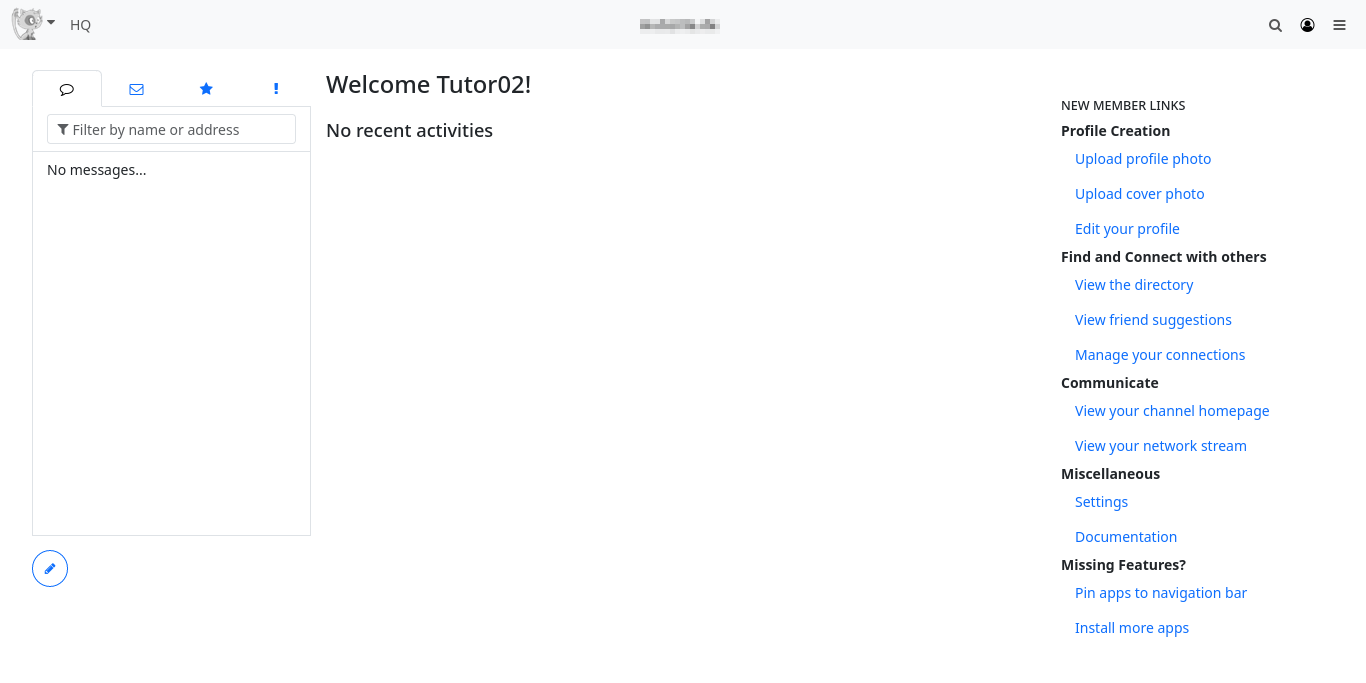
And, as always when you enter Fediverse, it's pretty empty. In the left sidebar you will find tabs with various information:
- Public (or Restricted) Messages: This is a compact view of your personal timeline (called ‘Stream’ on Hubzilla)
- Direct Messages: Postings that are only exchanged among selected participants.
- Favourite posts: You can add a ‘star’ to a post to mark it. Posts marked in this way end up here.
- Notifications
The personal stream (timeline) is displayed in the centre. Important information (notification of new contacts, new posts, etc.) is displayed in the right-hand sidebar. For a newly created channel, a list for the first steps with Hubzilla and links that lead to the corresponding functions also appear here.
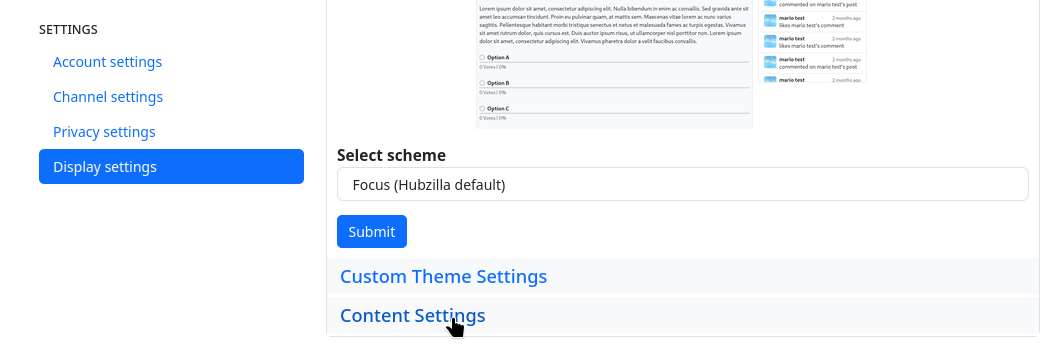
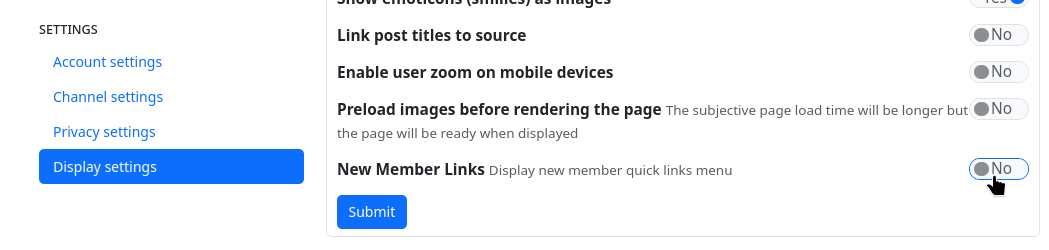
If you no longer need this help for beginners, you can switch it off under Settings → Display settings → Content settings.
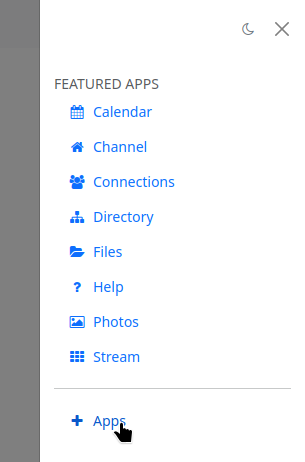
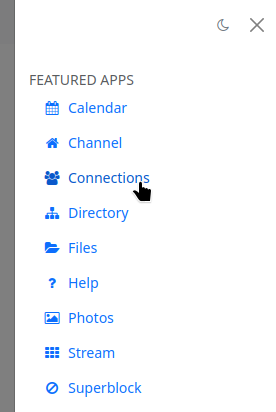
Firstly, you should fill your profile with useful information... as with any Fediverse service. No black magic! The navigation bar is located at the top of the screen. On the left is the menu for channel selection, your profile and settings. On the right are icons for some functions and the so-called ‘app menu’ (⋮), which takes you to the installed apps. The most important applications are already available there by default:
- Files: Access to your own cloud
- Photos: Access to your own photo album
- Help: Help
- Calendars
- Channel: The page of your own channel with the channel information. Only your own posts are displayed here in the stream.
- Stream: Switches to the federated stream view.
- Connections: The existing connections are listed here (‘Followers’ and ‘Followed’). You can also add new connections in the connections directory.
- Directory: The user directory is displayed. Note: You can view the global directory or just a directory with the users of your own instance. You can also create new connections here.
I strongly recommend installing and activating a few more apps:
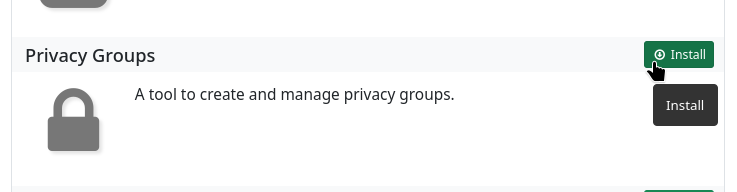
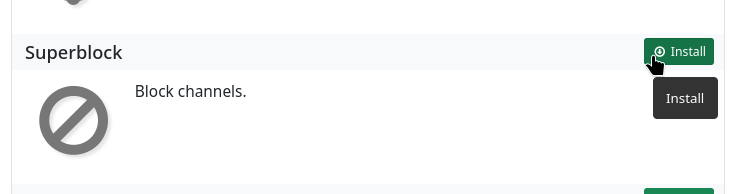
ActivityPub, Superblock and Privacy Groups.
The ActivityPub app is essential if you want to participate in the Fediverse. This app is a MUST and only requires installation and activation. No further settings are required.
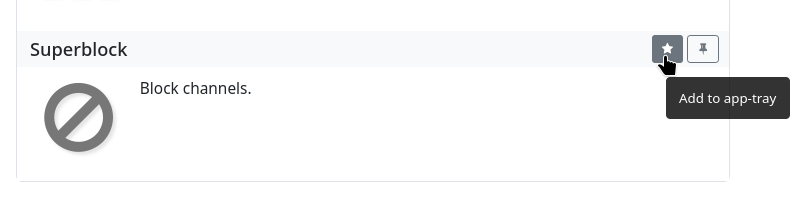
Superblock is also very important, as it allows you to exclude posts from (even unfollowed) users from the stream.
Many (unfortunately, but understandably, not all) hubs also offer the ‘Public post stream’ app. This provides the public timeline of all Fediverse instances that are federated with your own hub. A good place to orientate yourself and find new contacts.
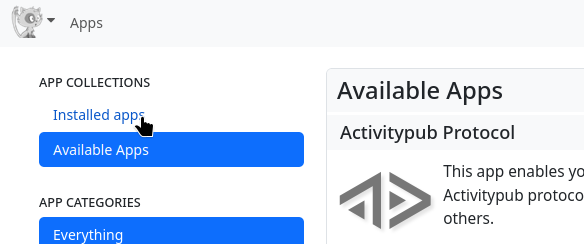
Installing and activating apps is no problem. Select the last entry ‘+ Apps’ in the app menu to access the app management.
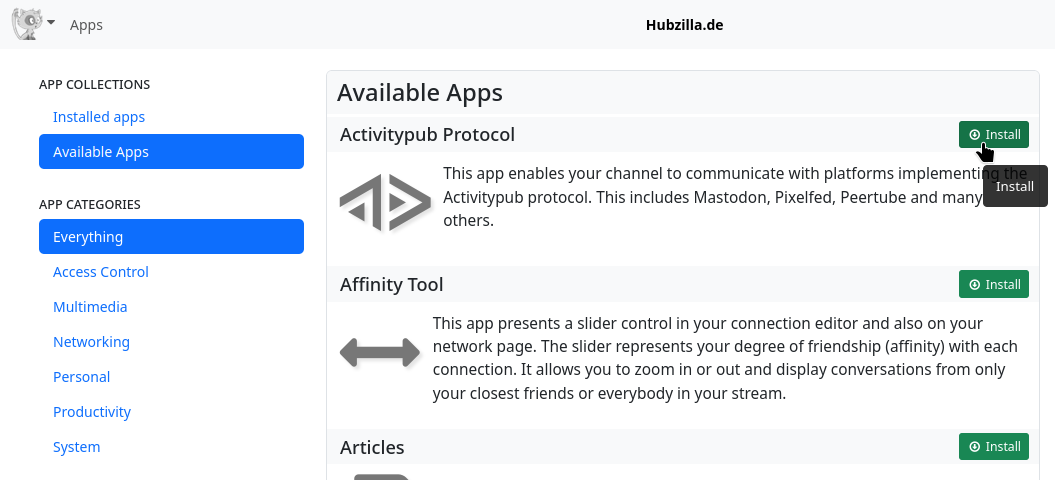
Here you can view the installed apps (i.e. the preset apps) and the generally available apps (all apps, including those that are not installed).
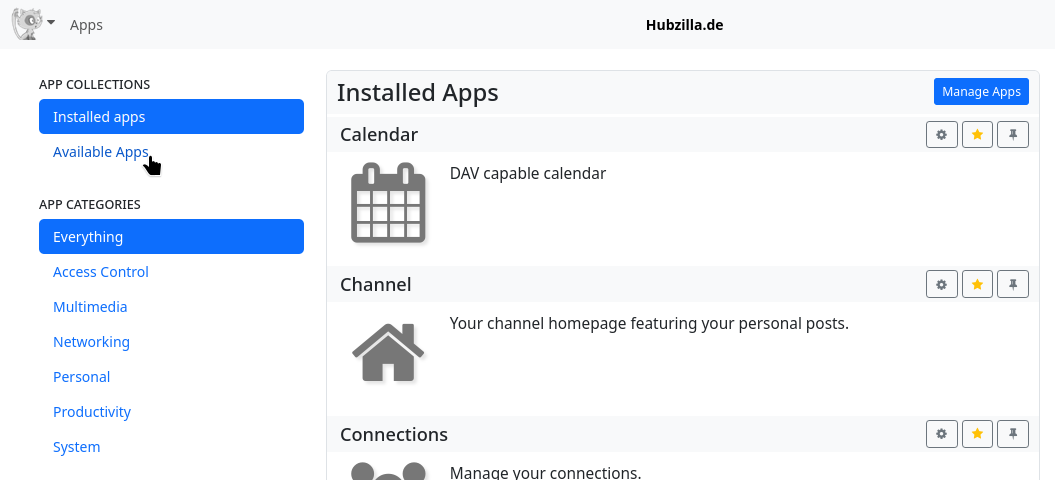
ActivityPub, Superblock and Privacy groups are still only available under ‘Available apps’. Click on ‘Install’ to install them and they will then also be available under ‘Installed apps’.
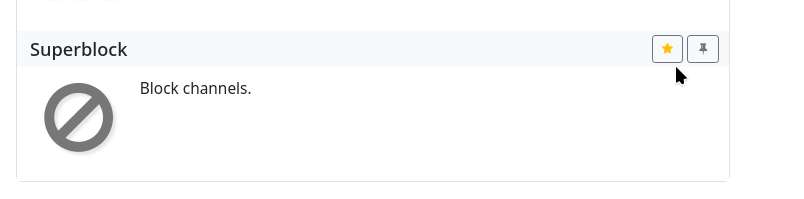
The newly installed apps still need to be ‘activated’, i.e. made usable via the menu. You will find a ‘star symbol’ in the app box. If you click on it, the star turns yellow and the app is active and now also appears in the app menu.
There is also a pin symbol. If you click on this, the app will also appear permanently in the navigation bar at the top right.
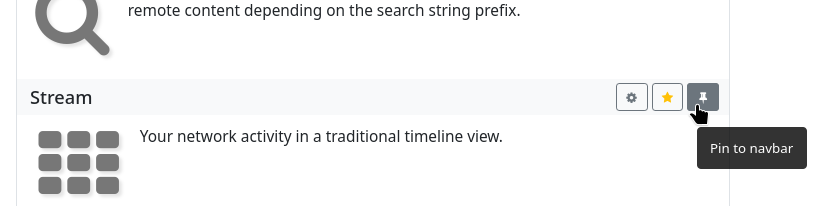
It is also recommended that you take this opportunity to pin the ‘Channel’ and ‘Stream’ apps to the navigation bar, as these are often needed.
It is also important to know how to add contacts...
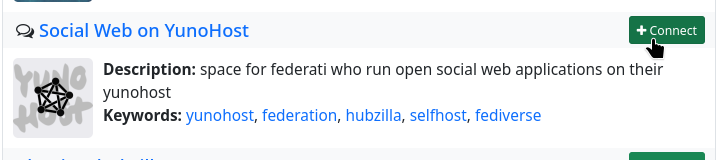
For example, if you have found an interesting user in the public stream (if activated by the admin and the app is installed), you can simply click on the user's profile picture and select ‘Connect’ from the drop-down menu. You can also click on the user's handle, which will take you to a page with a ‘Connect’ button.
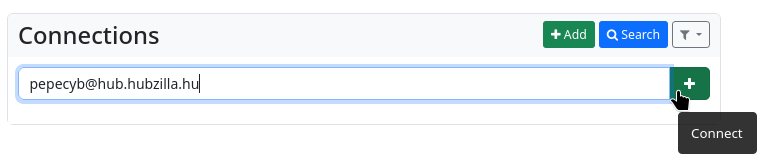
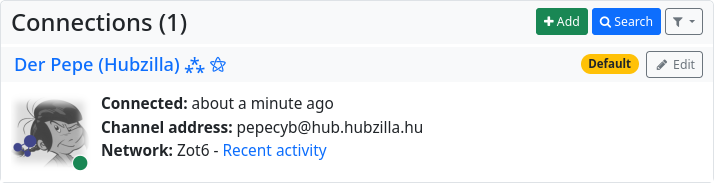
If you know the handle of a Fediverse user, you can also simply click on the ‘Connections’ app. The connection directory opens. There is a ‘+ Add’ button at the top. If you click on this, an input field opens in which you can enter the handle (remember: without the leading ‘@’). Click on the ‘+’ next to it and the contact will be added.


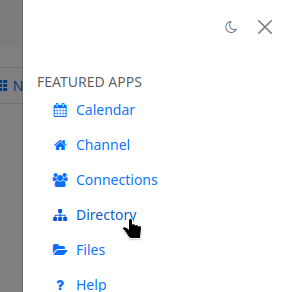
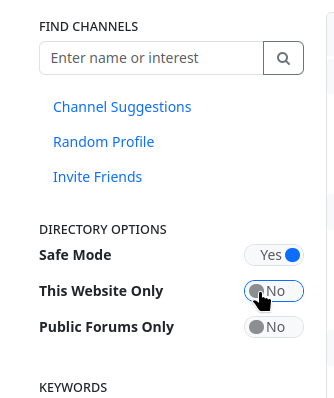
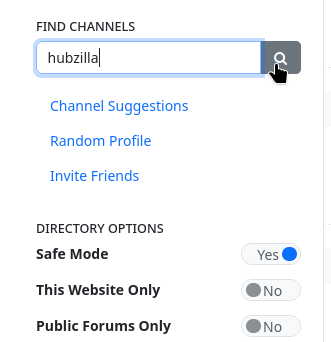
Finally, you can also call up the directory (it is best to deactivate ‘This website only’ in the left-hand sidebar in order to use the global directory). Here you can simply scroll through or search specifically by name or interests, or by tags (quick access also via a keyword cloud in the left sidebar). To connect, click on the ‘Connect’ button.
Once you have contacts, installed the apps and completed your profile, you can now use Hubzilla just like any other Fediverse service.
Is there an app?
Yes and no...
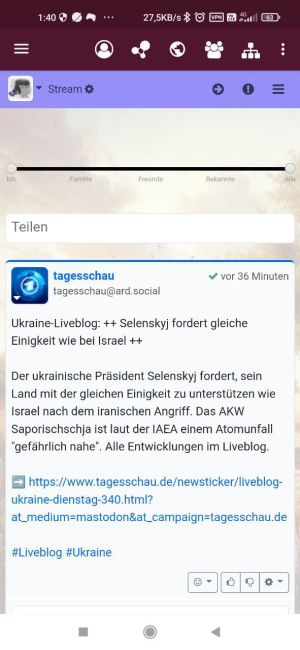
Basically, you don't need one. You can simply call up the hub in your web browser on your mobile device. The responsive design makes it easy to use.
However, there is an older app for Android that still works very well today. You can find it at F-Droid, for example, under the name Nomad. I still use it when I want to work with Hubzilla on my smartphone (which is rare).